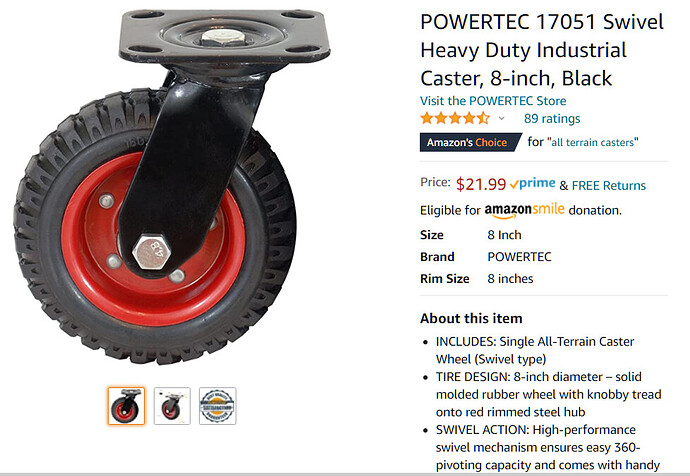
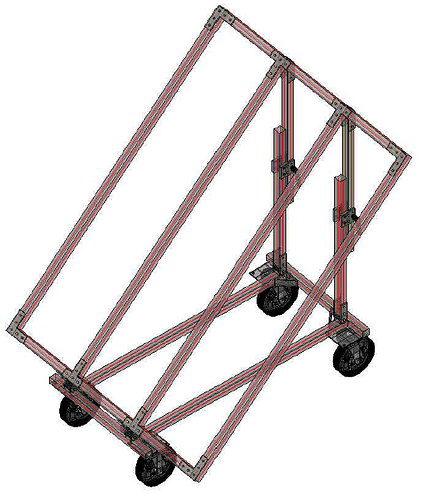
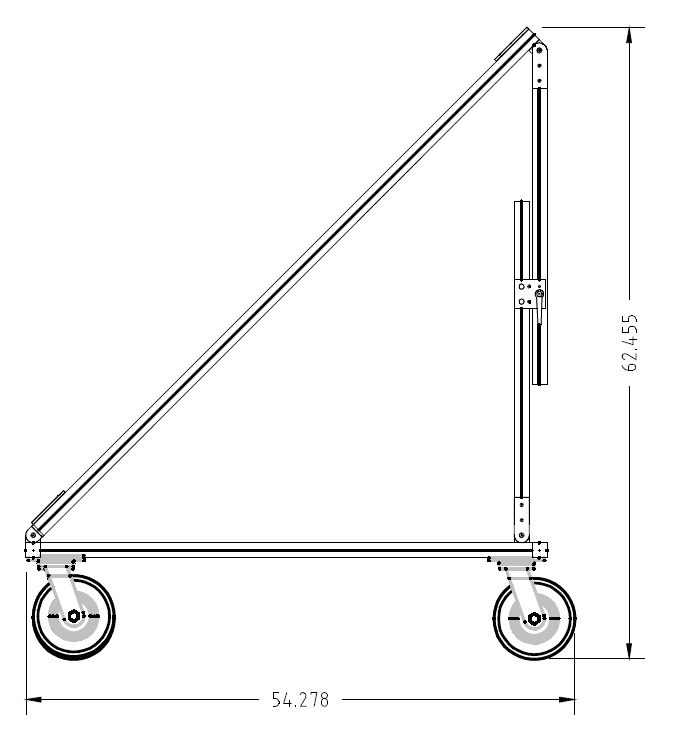
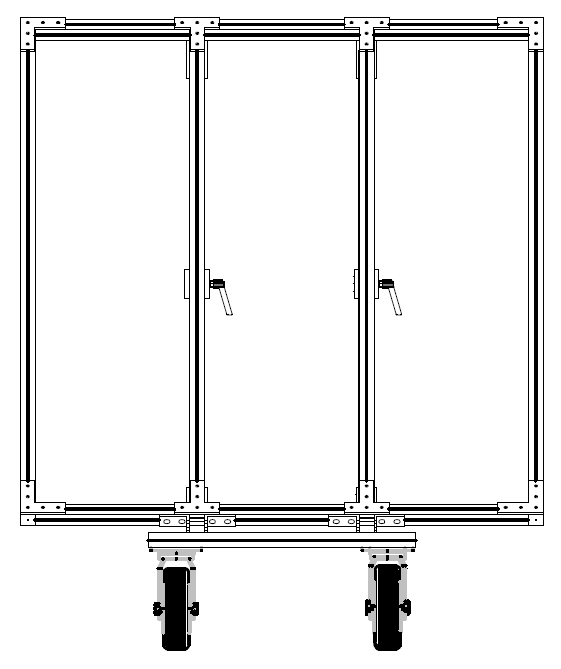
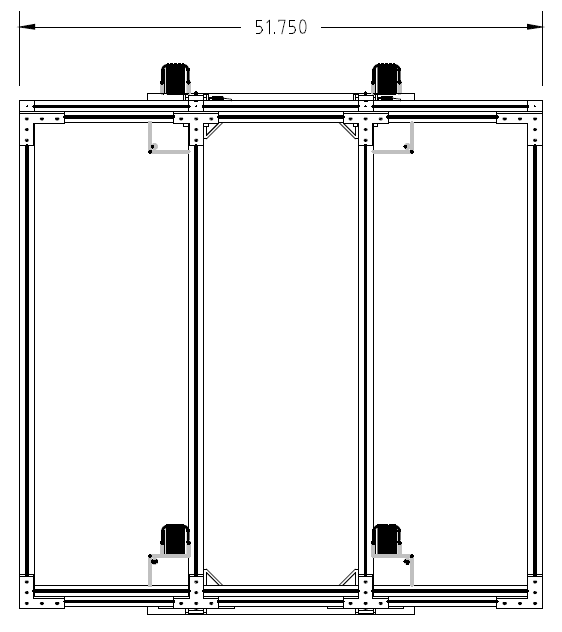
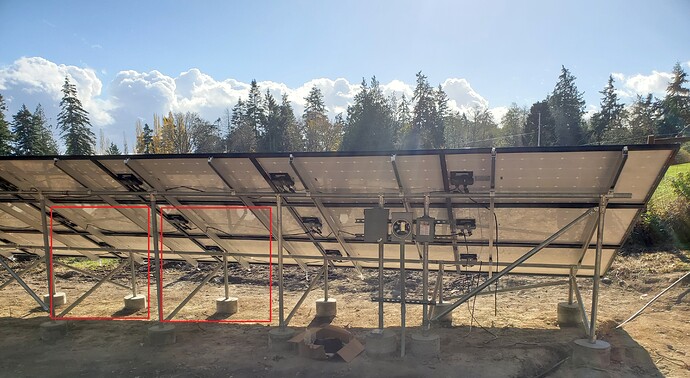
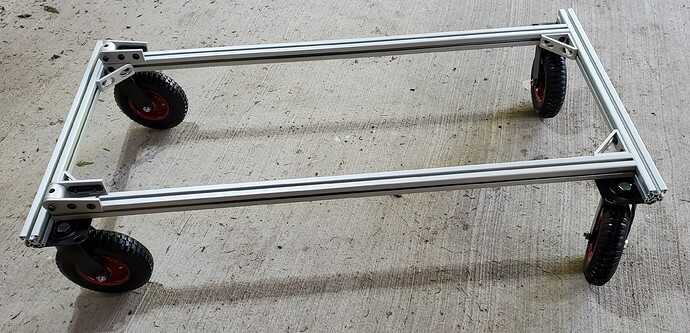
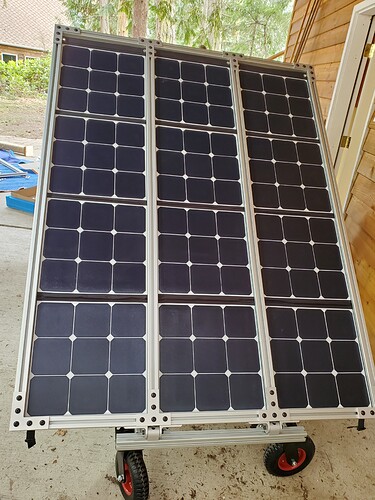
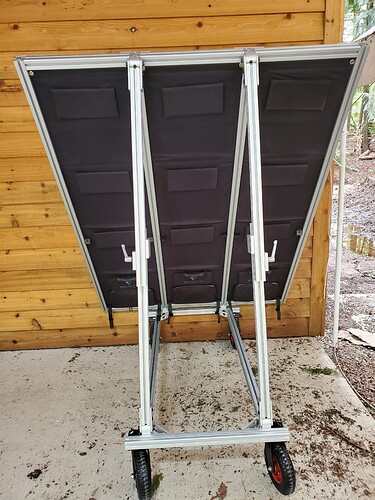
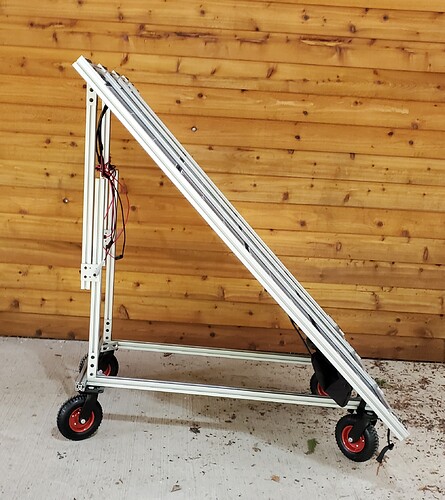
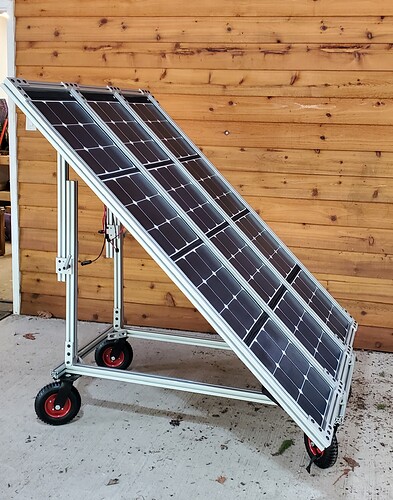
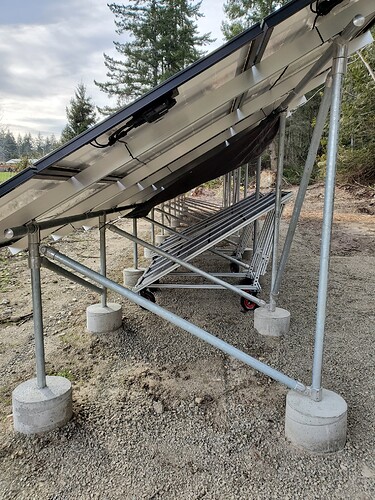
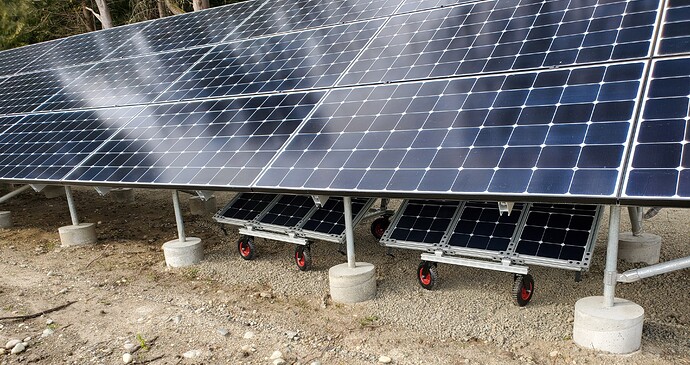
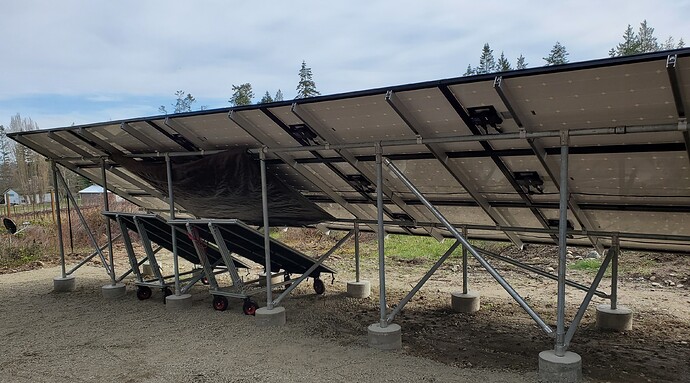
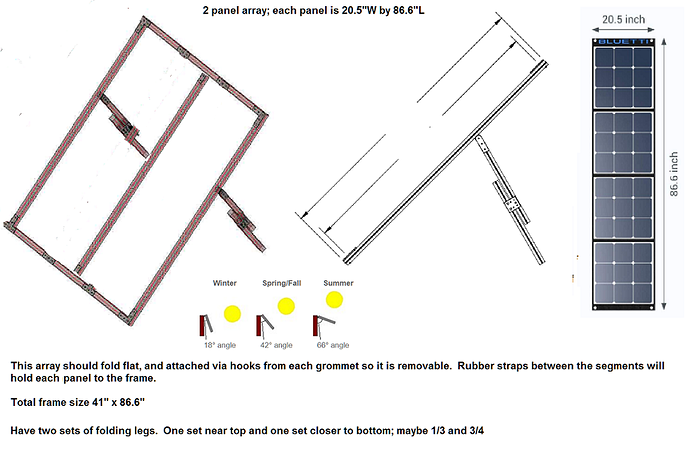
I finally got the design down for a mounting system for my Bluetti panels. They will store under the ground array, and I can leave them wired in series, pull out when I need them, and either wire the two stands in series or have 3 series two parallel configuration. I have 100’ of 12AWG solar cable extension to reach the back of the house to charge the Bluettis (AC200, AC200P, AC50s, AC30). I don’t have good solar potential anywhere else on the property, so this system makes sense for me. The angle is adjustable and if you wanted to take it on a road trip, it can fold down fairly flat. The frame can be made less robust if you don’t need the wheels. I have the 1.5" T-slot, but it can also be made with the 1". The edges of the panels are fitted into the slots. The materials other than the big wheels are from 80/20. I get the parts in a couple weeks. With the 3 panels installed, it will weigh about 100 lbs. I would be wheeling them from under the ground array over to the left of the ground array, which faces an open southern sky.
Getting there! Tomorrow I hope to lay out the conduit of solar cabling (100 feet) to reach back to the house to charge the AC200P and AC200 units. I’ve also ordered two shelves for the bottoms of the rolling arrays to set the smaller sogens on while charging them up. This way they will be out of the sun, protected by the panels, and not on the ground. Those are custom made to fit and will take about 6 weeks. I hope to have good sun on Friday to fire up the panels and get that AC200P charged up. It’s rain or grey skies for most of the week.
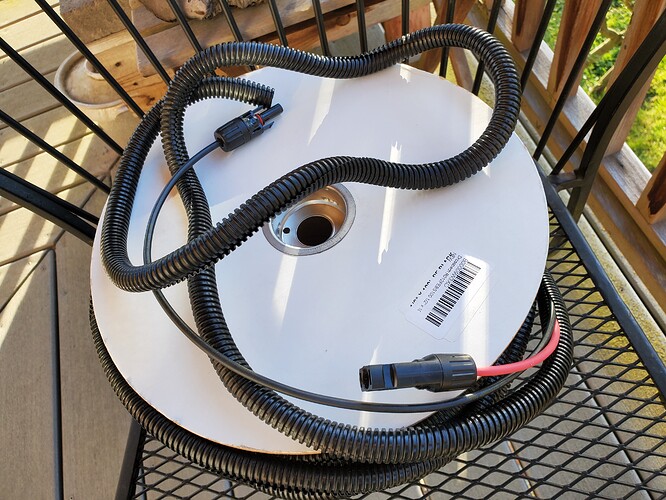
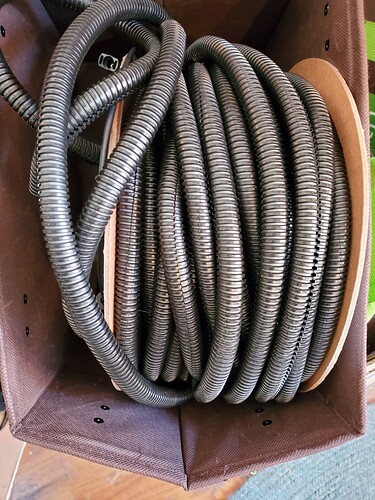
I’ve got blistahs on my fingahs! 100 feet of solar cable extension into 100 feet of conduit. The solar cabling is WindyNation 12AWG, and as you can see, the red is shorter than the black and the conduit is much longer than both, so I hope it is long enough to reach. I recommend this conduit - 1/2 inch: https://smile.amazon.com/gp/product/B00009W3XO/ref=ppx_yo_dt_b_asin_title_o02_s01?ie=UTF8&psc=1
You can find conduit in various lengths, and I highly recommend if you are using cabling extensions to put them in conduit to protect.
I’m hoping it is long enough to run it along the dog fencing back to the house, using zip ties to attach it to the fencing. We shall see tomorrow.
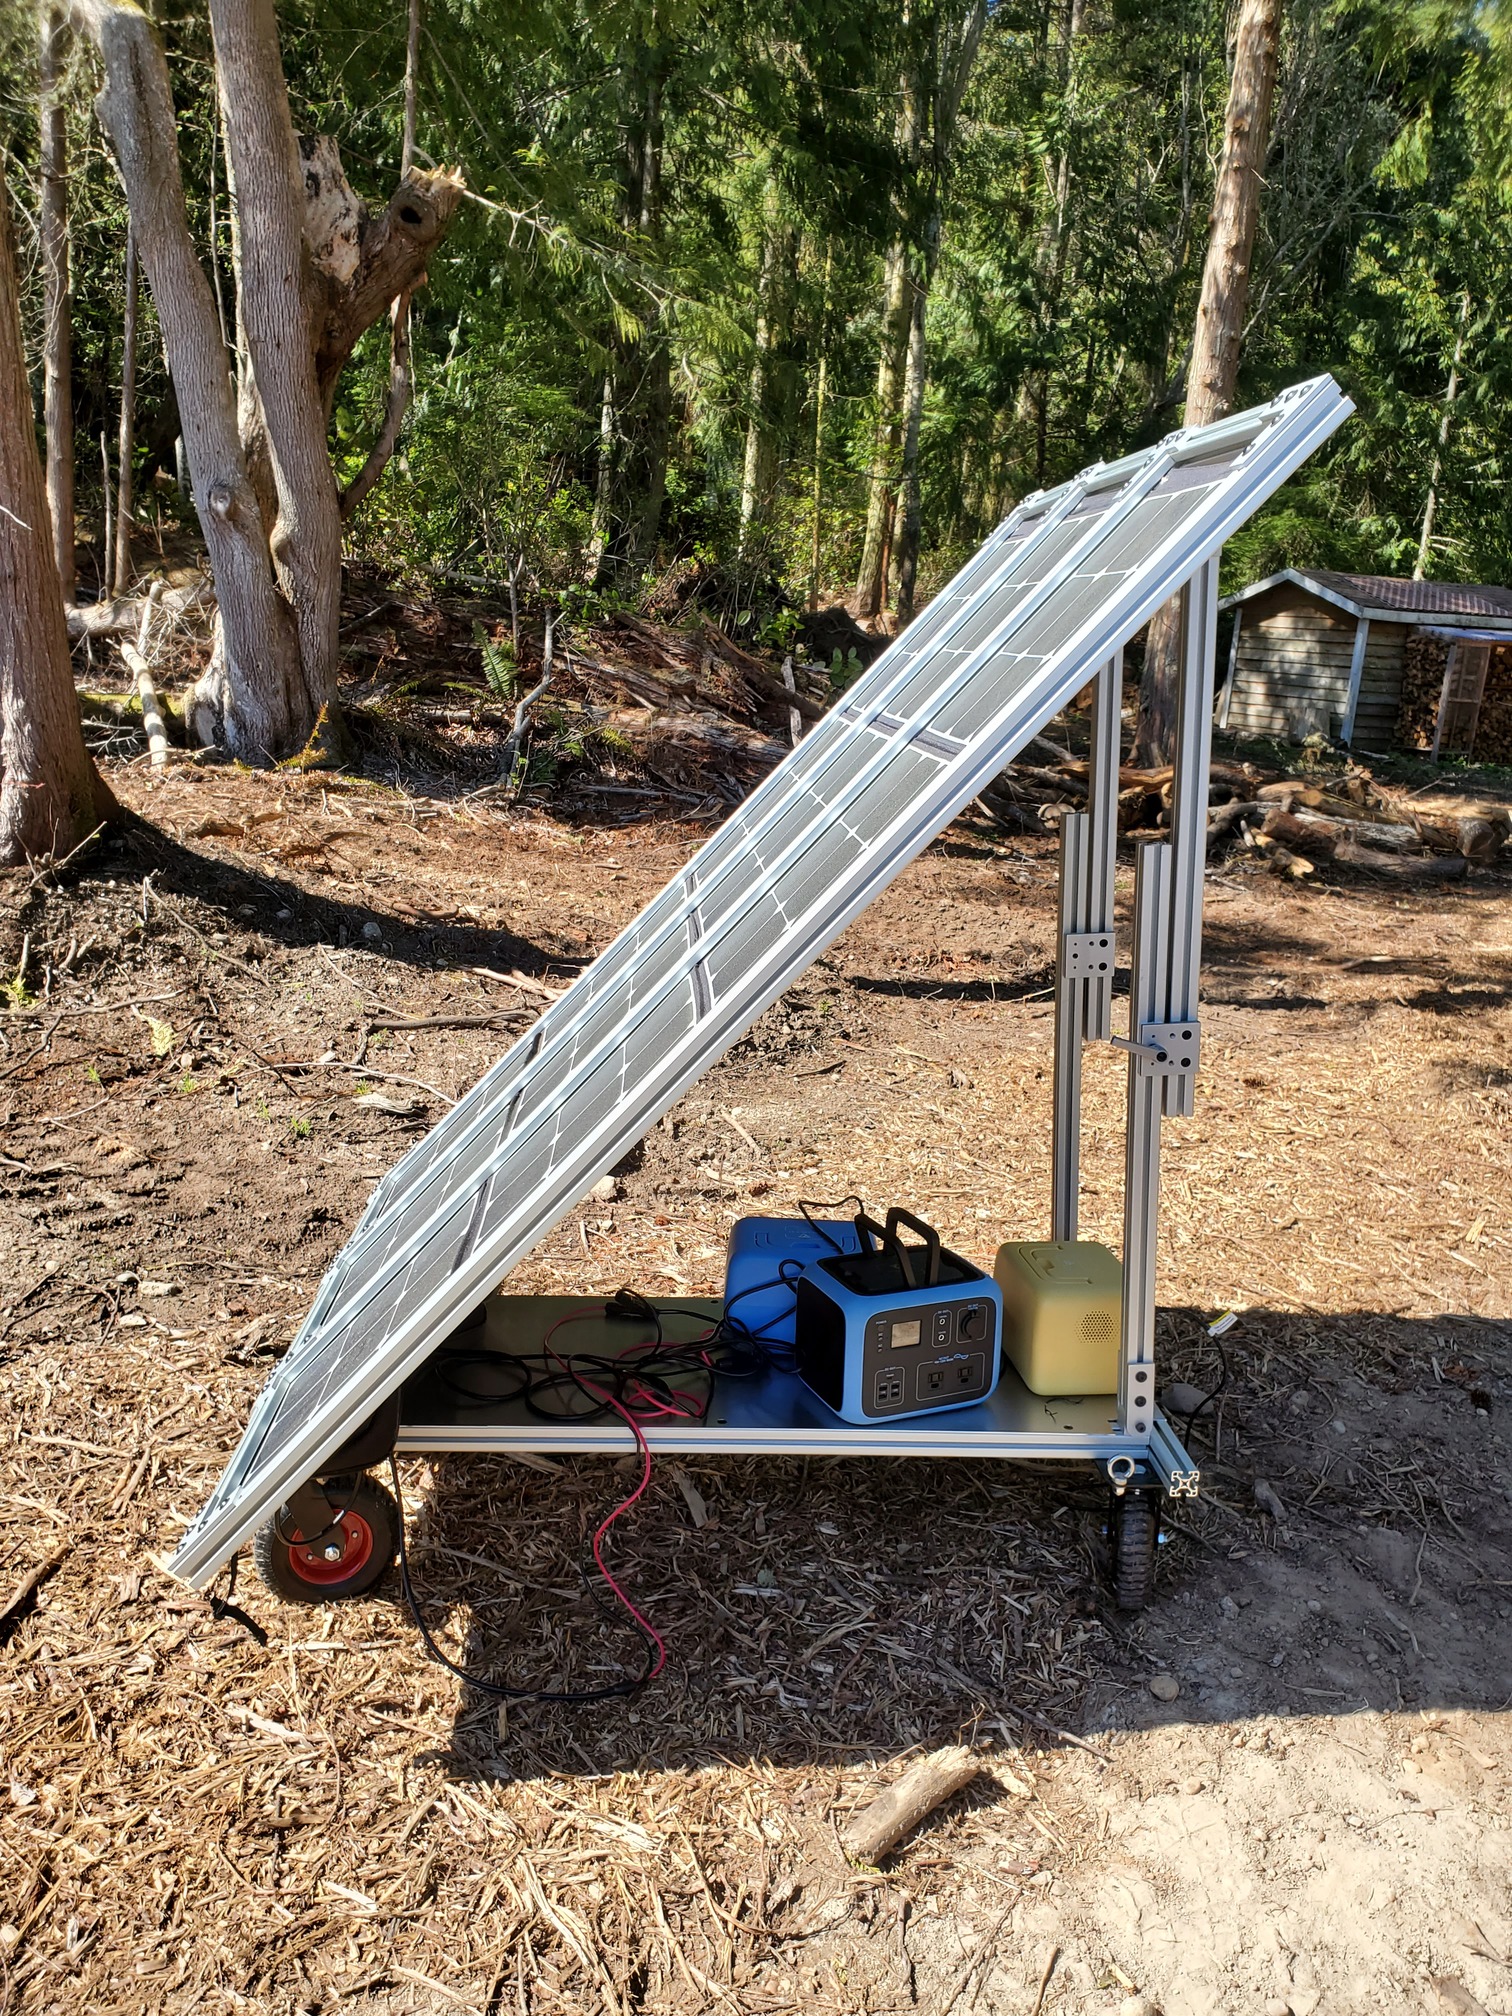
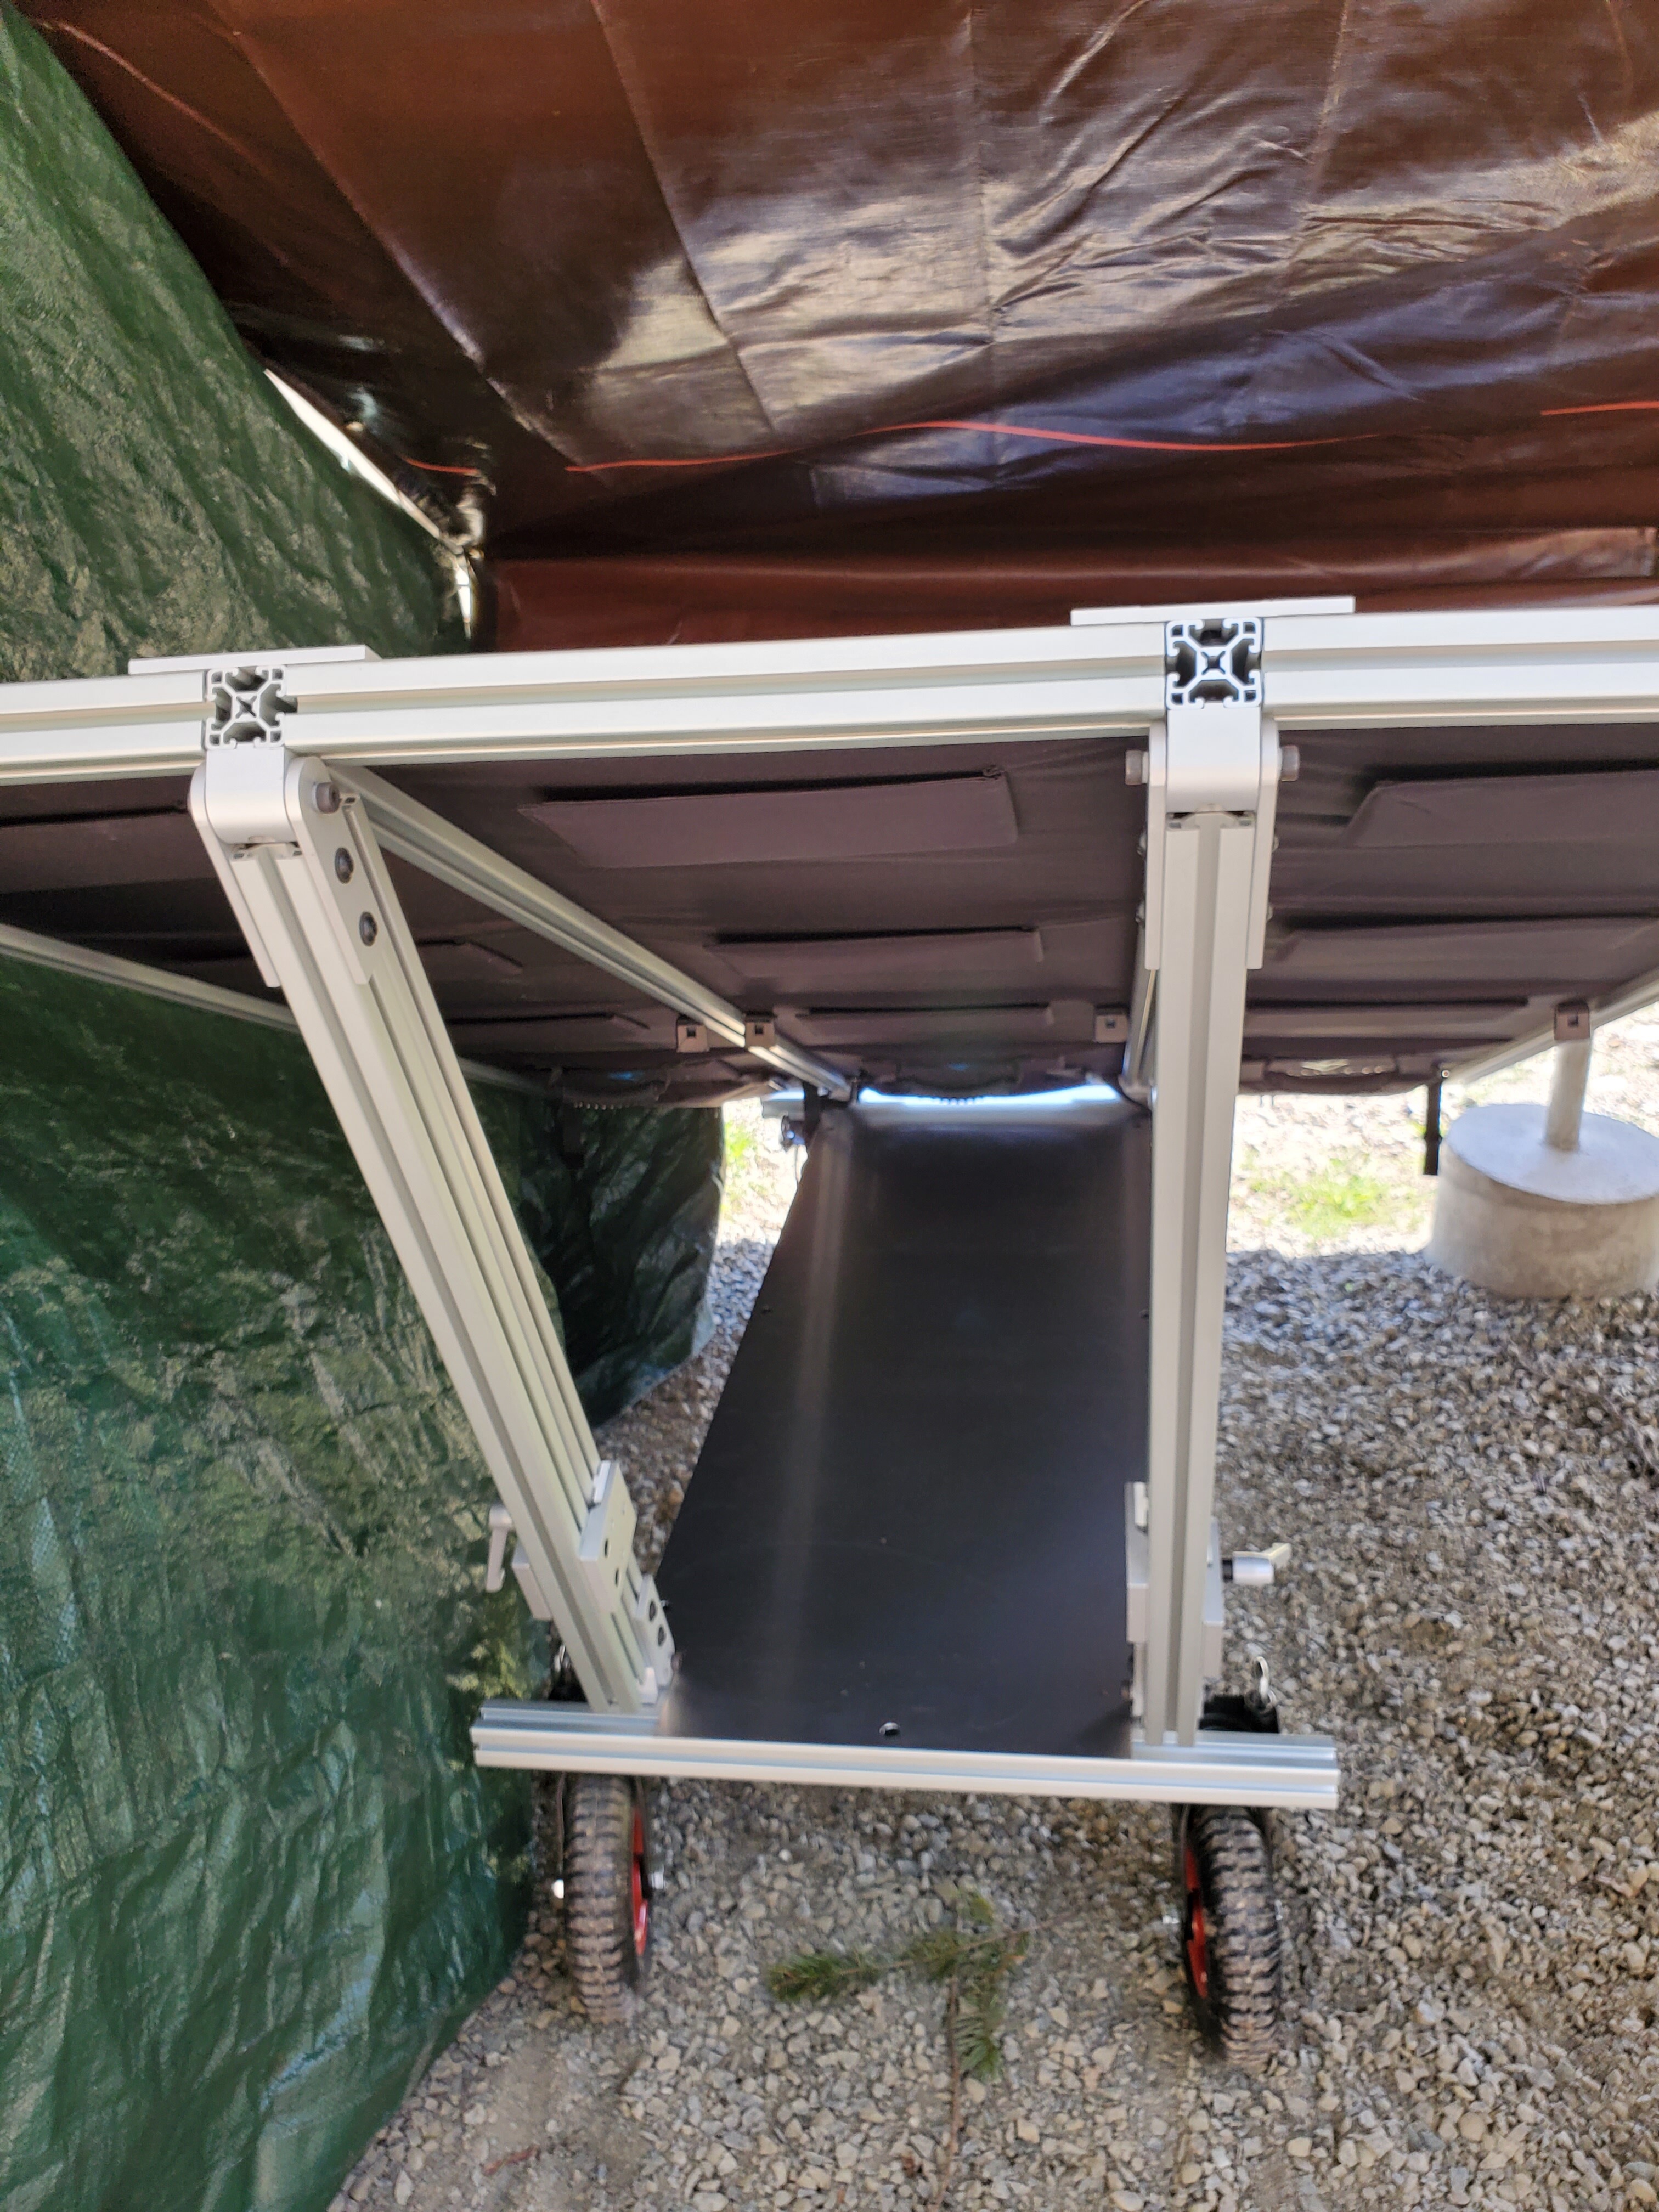
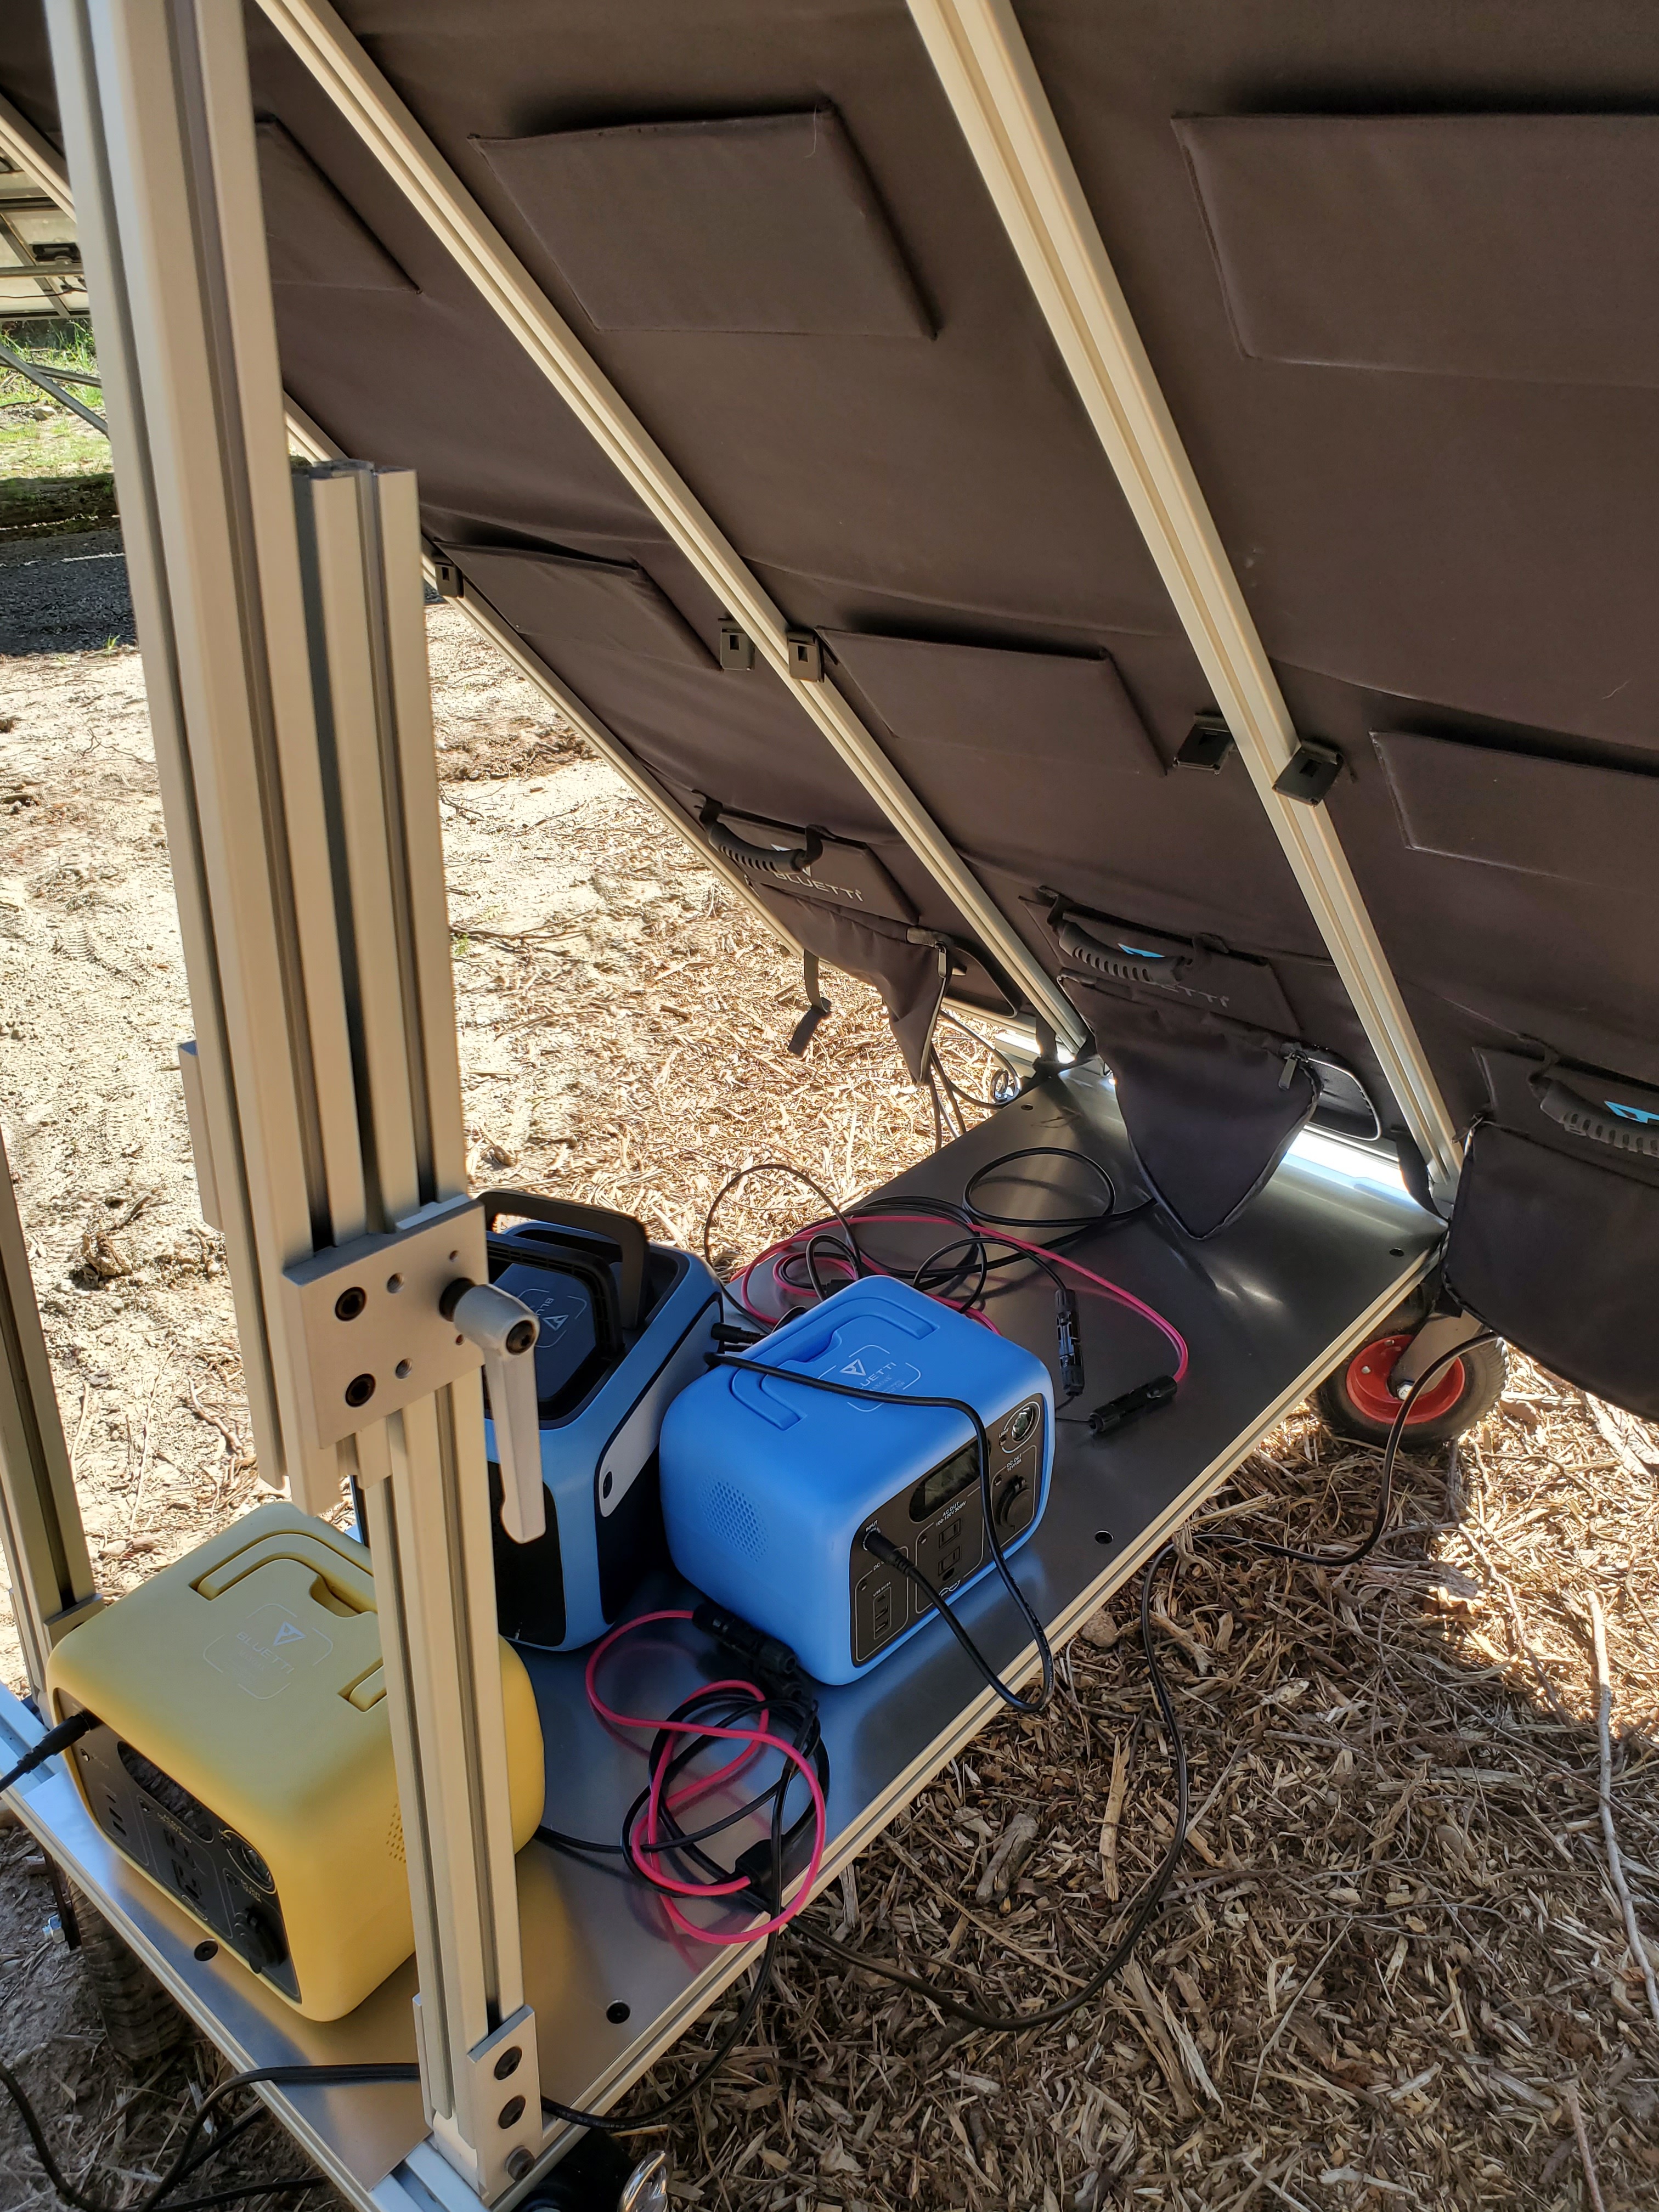
Revised design added a shelf on the bottom to hold the smaller Bluettis while charging. This way I can charge up to three smaller sogens per array, and the sogens are protected from the sun and not sitting in dirt either. The second photo shows the legs fully down. You can separate the upper and lower legs segments if you wanted to collapse it or set the panels at an even lower angle. In the first photo, you can see there is more leg length to raise the angle even higher. There are three sets of pivot arms: One in the front and one upper and lower for each leg.
Looking good!
I’d buy one for my 4 panels!
Here’s another design. With this one, the legs fold flat for transport, but these are heavy! I may do this for the two SP200s I got.
Good stuff, thanks SoulGen!
I think you can make a business of this!
Hey Putter, thanks! I came across this today and I think you’ll find this very useful and informative. Has clear wiring diagrams and explains terminology.
Thanks I saved it for reference. I stumbled upon “Explorist Life - DIY”. That guy spells out arrays, volts, amps, watts, series, parallel, series-parallel, etc… been watching him on you tube. I wish I would have studied this stuff when I was younger🤯
Not long after finding that great source, I found another. This one is great for figuring out the best way to maximize mixed panels. I’ve got 6 Bluetti 120W and 3 Bluetti 200W, two Rich Solar 200W, a Zendure 200W, an Aiper 160W, and a couple Montek 80W. I’ve got a lot of figuring to do! The key thing is to never go over volts.
https://www.explorist.life/using-mismatched-solar-panel-sizes/
Hi! I can see that this is a very old thread but the design is perfect for my current project! I am looking at building the same base with the wheels. As I am new to this, I am not sure which size of the bolts and nuts can be used. Are you able to share the links to all the parts you used to build just the base excluding the wheels? I can see you have used 1.5" framing extrusion, I just want to know the gussets, bolts, and nuts size that is why I requested for links. Thank you very much!
Hey thank you so much!
