yeah thats good,something with wheel would be the ticket!!

I’ve seen Will Prowse YouTube videos where he has the panels on the ground with just some cinder blocks under one side to give it some “tilt”.
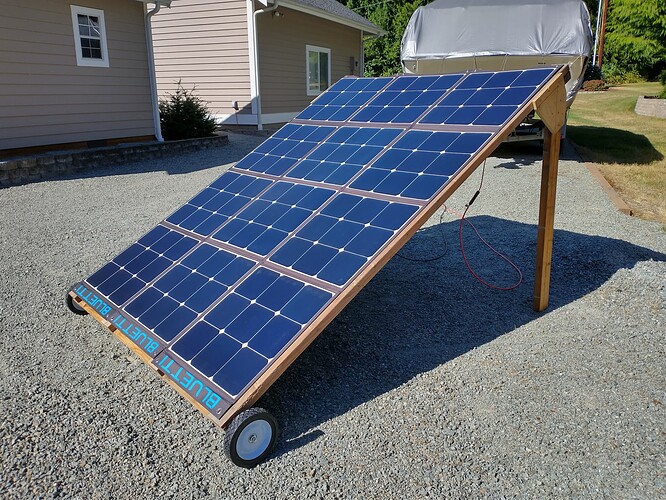
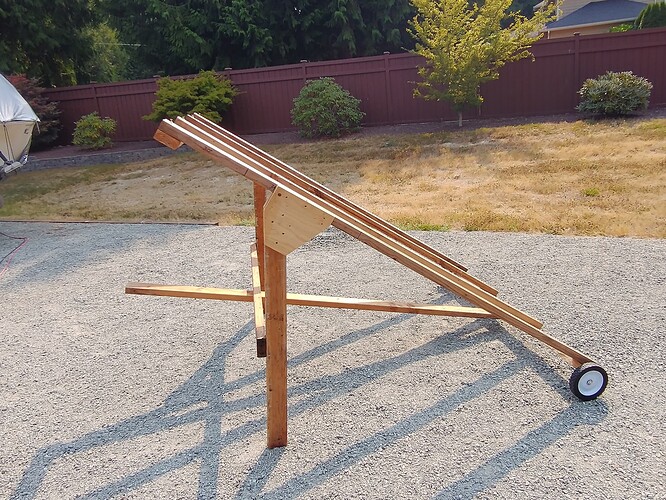
What I am doing is what Will Prowse did on his trailer. I have a flat trailer and plan to lay the panel on 2 x 4s laying on the trailer rail putting 3 180 panels (fastening) . This way I can still use the trailer after lifting off 3 or 6 panel and leaning on the fence. You really need that kind of wattage when the power goes out. Don’t lay on the ground without dead airspace under them and that can be done with 2 x 4 s if you dont have a trailer. My trailer is flatbed with 18 inch rails like Wills.
@eric102 this is a killer setup man! 
 Definitely will save these pics for future inspiration! I think you and @SoulGen have some of my favorite concepts I’ve seen so far!
Nicely done!
Awesome, I love this! 
I have 3 Bluetti 200W panels (want to get a 4th soon) and was thinking of doing something like this. How do you have the panels attached? I was thinking of using hooks with the grommets and rubber straps between the ribs that would hook to the wood frame, to make them extra secure. This way I can leave the frame out and just hook on the panels when I need them, vs stowing arrays under the big array like I did with those SP120 arrays. But I think I would have to use only two panels per array in order to hang them and to move the array, as 61" + wide would be hard for me to move alone.
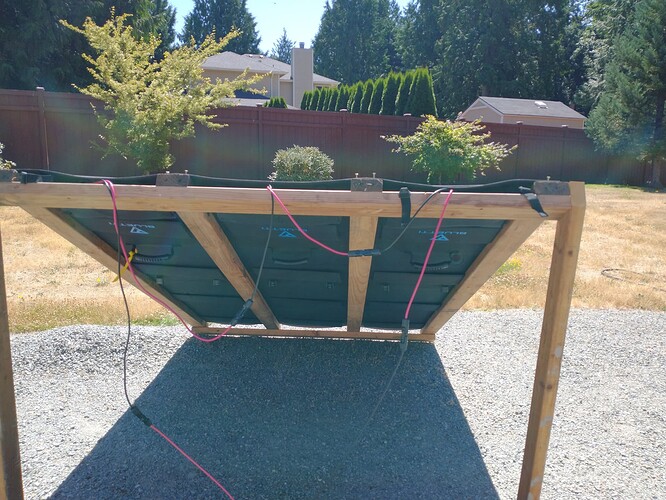
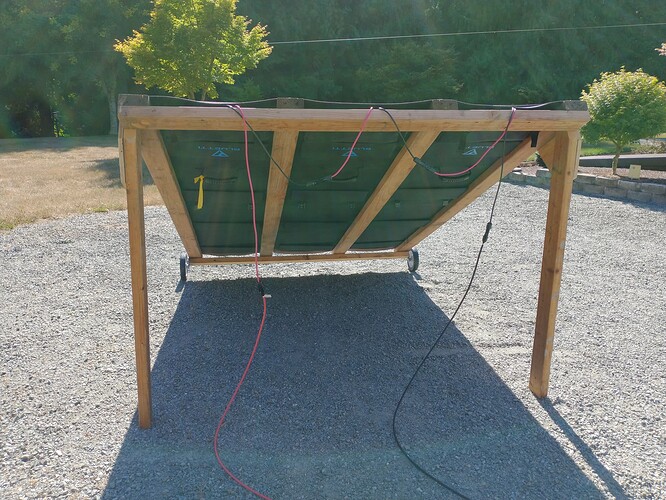
I like the way you put the solar cabling connections at the top. I didn’t do that with the SP120 arrays because they were only held in place by the t-slots, and the weight at the top would cause them to slide down, but with your system I can have them at the top - much easier! Did you work out a way to adjust the legs?
Again, really love this - did you post your pix on the Bluetti FB page? People there will love this. Thanks for sharing here! 
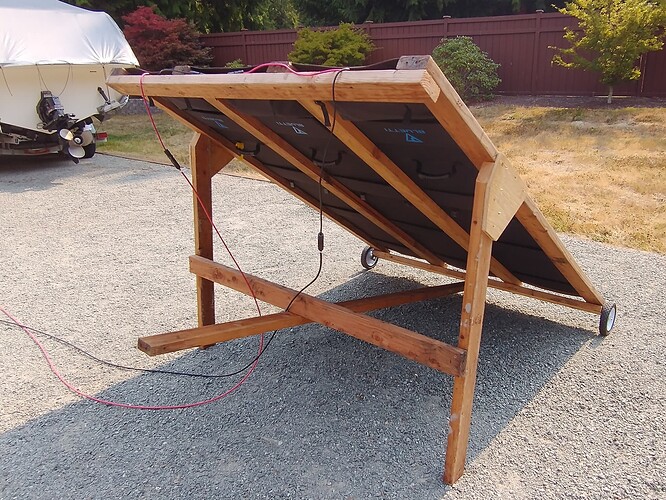
I have 2 construction screws per panel sticking up about a 1/2 inch (see photo) so I can just set the folded up panel grommets over them and then I unfold the panel down the rack. Other than that gravity does the rest. Installing and removing the panels is a real fast process (5 minutes?) so they go indoors during the night or when there’s no sun.
If I were to expect some winds I might put some screws on the lower grommets or if the winds were to high they would go back in the house.
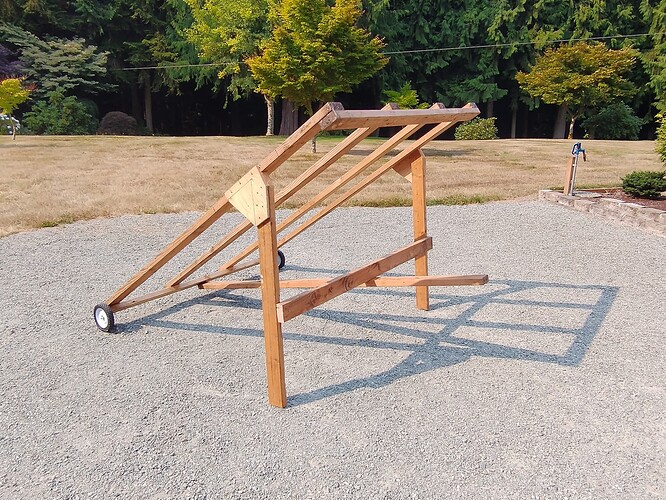
Haven’t worked out an easy leg adjustment yet. The rack is at 30 degrees which is about what our solar noon’s inclination is at the moment. The legs are held on with 3 construction screws so if I were to slide them down the rack a bit that would increase the angle but that’s not something I would want to do twice a day.
I don’t do Facebook but feel free to share the photo’s if you would like.
!I posted mine here back in February: Mounting system design for 6 Bluetti panels  I updated farther down the thread.
Wow, amazing design and workmanship compared to my scrapyard special!
But yours is way more cost effective. ![]() I like the idea of being able to leave the frame out in the elements and just attaching the panels when needed. If I were to make the same arrays for the 200W Bluettis, I could only get two panels to an array in order to fit under the big array, because they are much bigger/wider. Yours is a great solution.
I like the idea of being able to leave the frame out in the elements and just attaching the panels when needed. If I were to make the same arrays for the 200W Bluettis, I could only get two panels to an array in order to fit under the big array, because they are much bigger/wider. Yours is a great solution.
Here are my draft designs for a wood framed mounting system, based on your design. I would still only do a two panel system, partly because of space constraints and partly because it would be hard to reach to attach the center panel. With a two panel frame, I could sort of wheelbarrow it and not need wheels on the back.
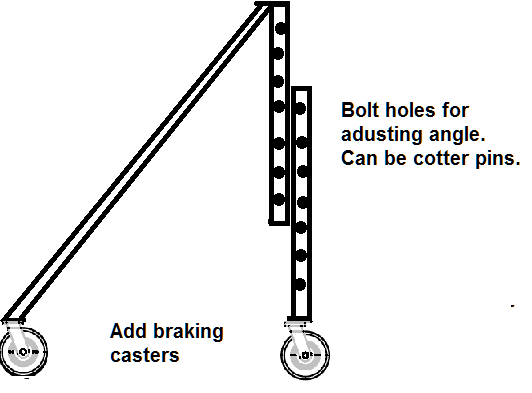
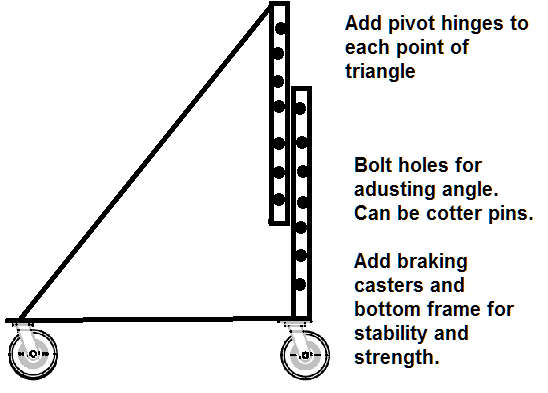
Yeah I was just thinking of adding wheelbarrow like handles to mine as I was moving it around this morning. A 2 panel wide design would make that easy!
Boy, you guys are very creative!
Now 'm going to have to figure out how to build something for my 4 SP120’s!
Scrappy has a handle! well sort of, will add a better one to it soon. Even with just the 2x4 its much easier to move around plus it stiffened up the legs quite a bit. One hand on the handle and the other holding the extension cables out of the way. Total investment so far is $25 for the wheels and axles.
Good homebrew!
I love the name Scrappy! Wow, looks great, and definitely more stable. Looks like you could adjust angle if you wanted, simply by raising one end or the other on concrete blocks or something.
This is based on my location, but you can use this calculator to input your country, state, nearest city (pick closest one that is latitudinal).
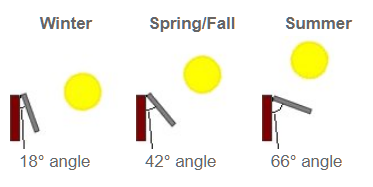
You have to scroll way down to get to the calculator.
I really love this. Maybe I will do a 3 panel of Bluetti SP200s after all. I just realized I could reach the middle panel to hang by accessing from the back. Thanks for sharing! May I have your permission to post your photos in the Facebook Bluetti group? Many people there are interested in ideas for mounting systems for their panels. Each one begets inspiration for the next! ![]()
Thanks for the link, we must have similar latitudes since those winter-summer angles are the same for my location in Washington State, I’ve been using the NOAA solar calculator ESRL Global Monitoring Laboratory - Global Radiation and Aerosols which is excellent. With it you can really geek out and get the exact angle and azimuth down to the nearest minute and second of the day  Must be the Land Surveyor in me as before GPS we would sometimes use the sun to establish azimuths for surveys.
I access my middle panel by stepping into the center bay, hanging it while it’s still folded up and then unfold it as I step back out of scrappy.
Yes you can share any of my photos you would like.
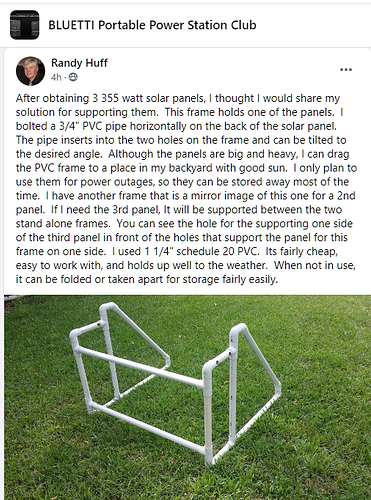
@MitchC Let us know if/when you come up with something. There is a guy on the Bluetti FB group page that just posted a pic of one he made from PVC that looks fantastic. I will ask him if I can post his pic here, so stay tuned.  I seem to recall someone else in this group was interested in making one out of PVC, so I hope he or she looks here.
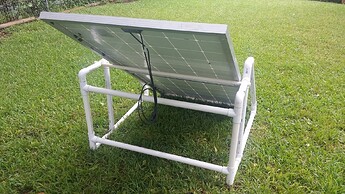
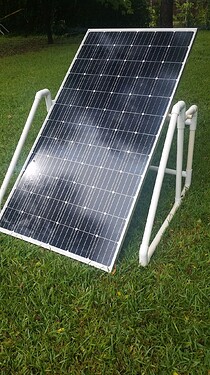
Here is a PVC design that comes apart/folds for travel. He is using fixed panels here, but you could make one for folding panels by making it taller.
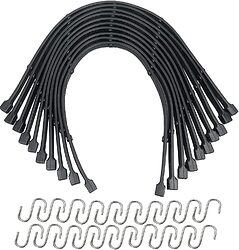
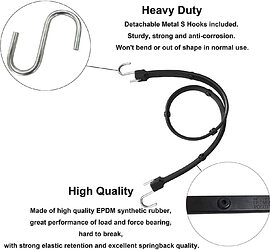
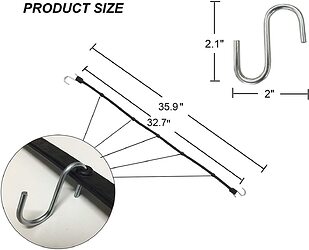
For folding panels, I would use these rubber bungees strapped on the ribs between the panel segments, and use a brick or log or something to hold the bottom legs/arms down. I got these rubber straps to do just that.
I don’t have pics yet but I just modified Scrappy to hold a 200 watt fixed panel on either side of the 3 SP200’s for a total of 1,000 watts. Also changed the one handle design to two like a wheelbarrow since it’s starting to get heavy 
