Hi Aduviel,
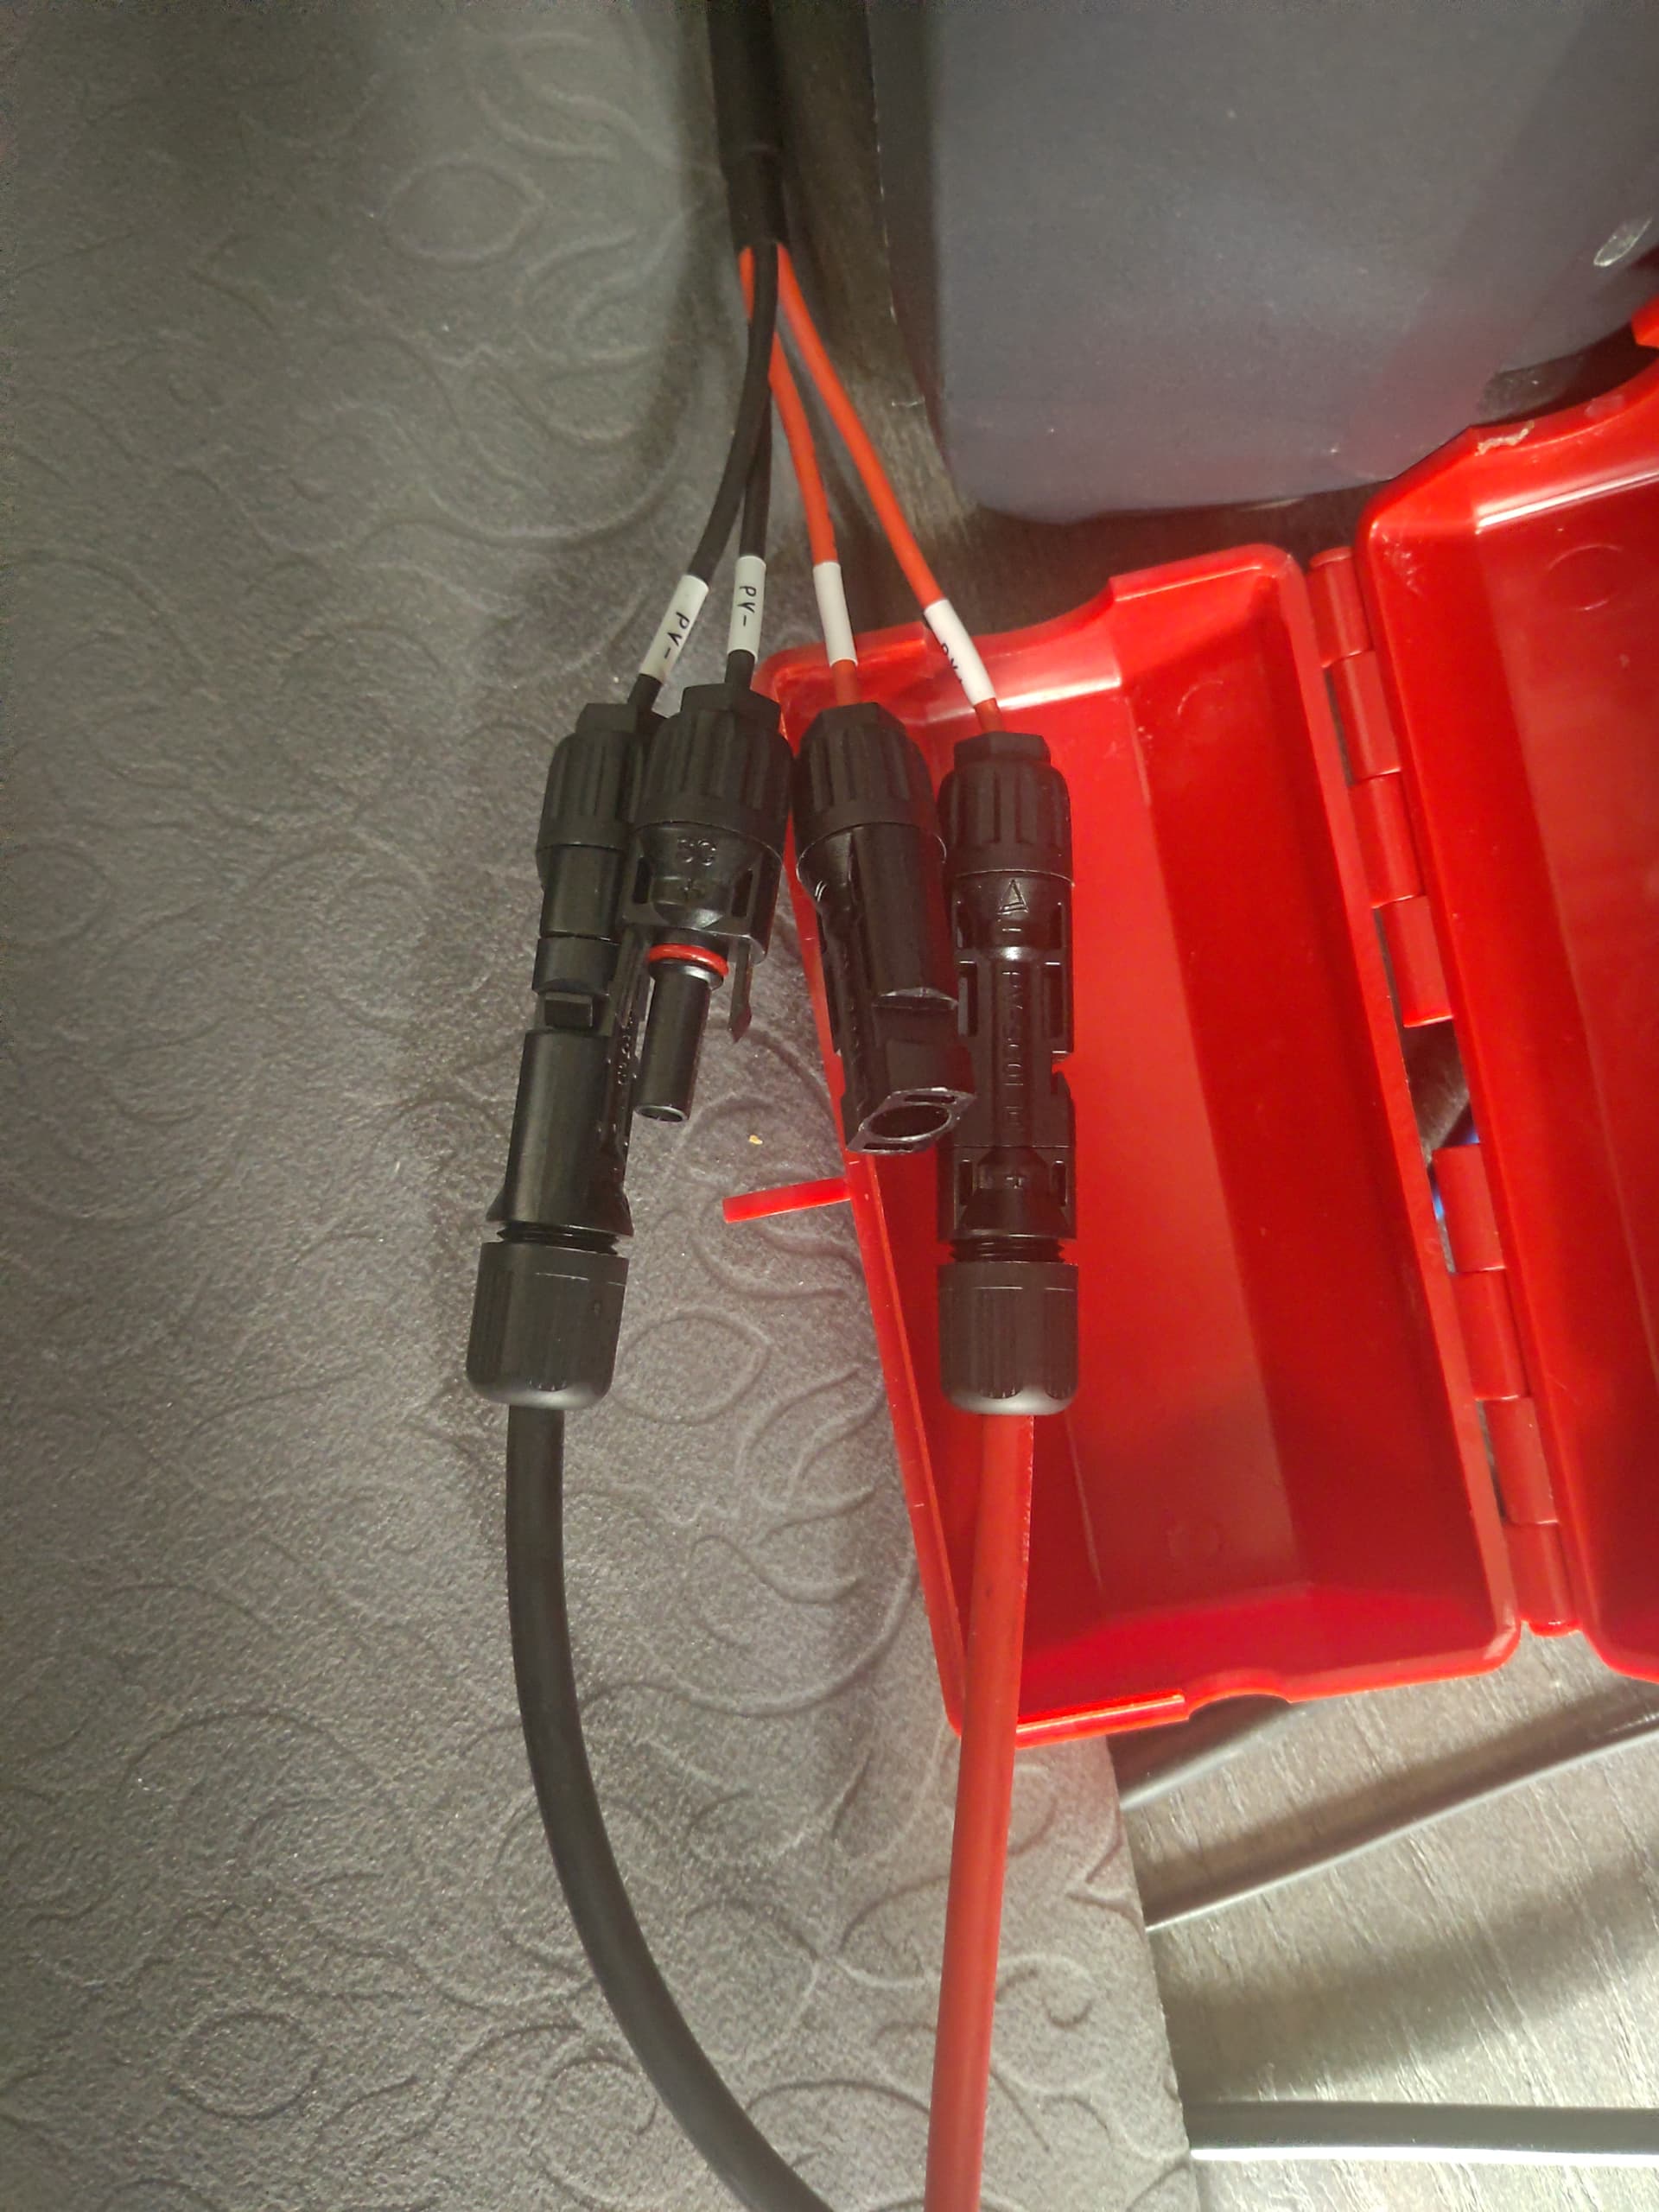
Back to your original question of the 2 input on the aviation-to-mc4 cables. My assumption is that they are parallel inputs, to allow you to attach two different PV panel strings coming in on separate extension cables. But this is a guess, I couldn’t find a description of that in the EP500 manual.
To check if that cable is meant for two parallel inputs and good, disconnect it from everything. Use an ohm meter to see that the 2 red inputs are a short circuit (zero ohms) between them and one of the aviation connector pins (it might be 2 of the 4 pins), and also that they are open (infinite ohms) with the 2 black inputs. Then repeat to make sure the 2 black inputs are a short ciruit between them and one (or two) of the aviation connector pins, and open with the red inputs. If that checks out, then you would just use 2 of the cables (one “+” and one “-”) and leave the other pair unused.
If you find that each of the 4 PV cables go to one of the 4 aviation connector pins, then follow the suggestion from Felton, and shame on bluetti for not labeling or indicating which +/- PV cables are paired with each other.
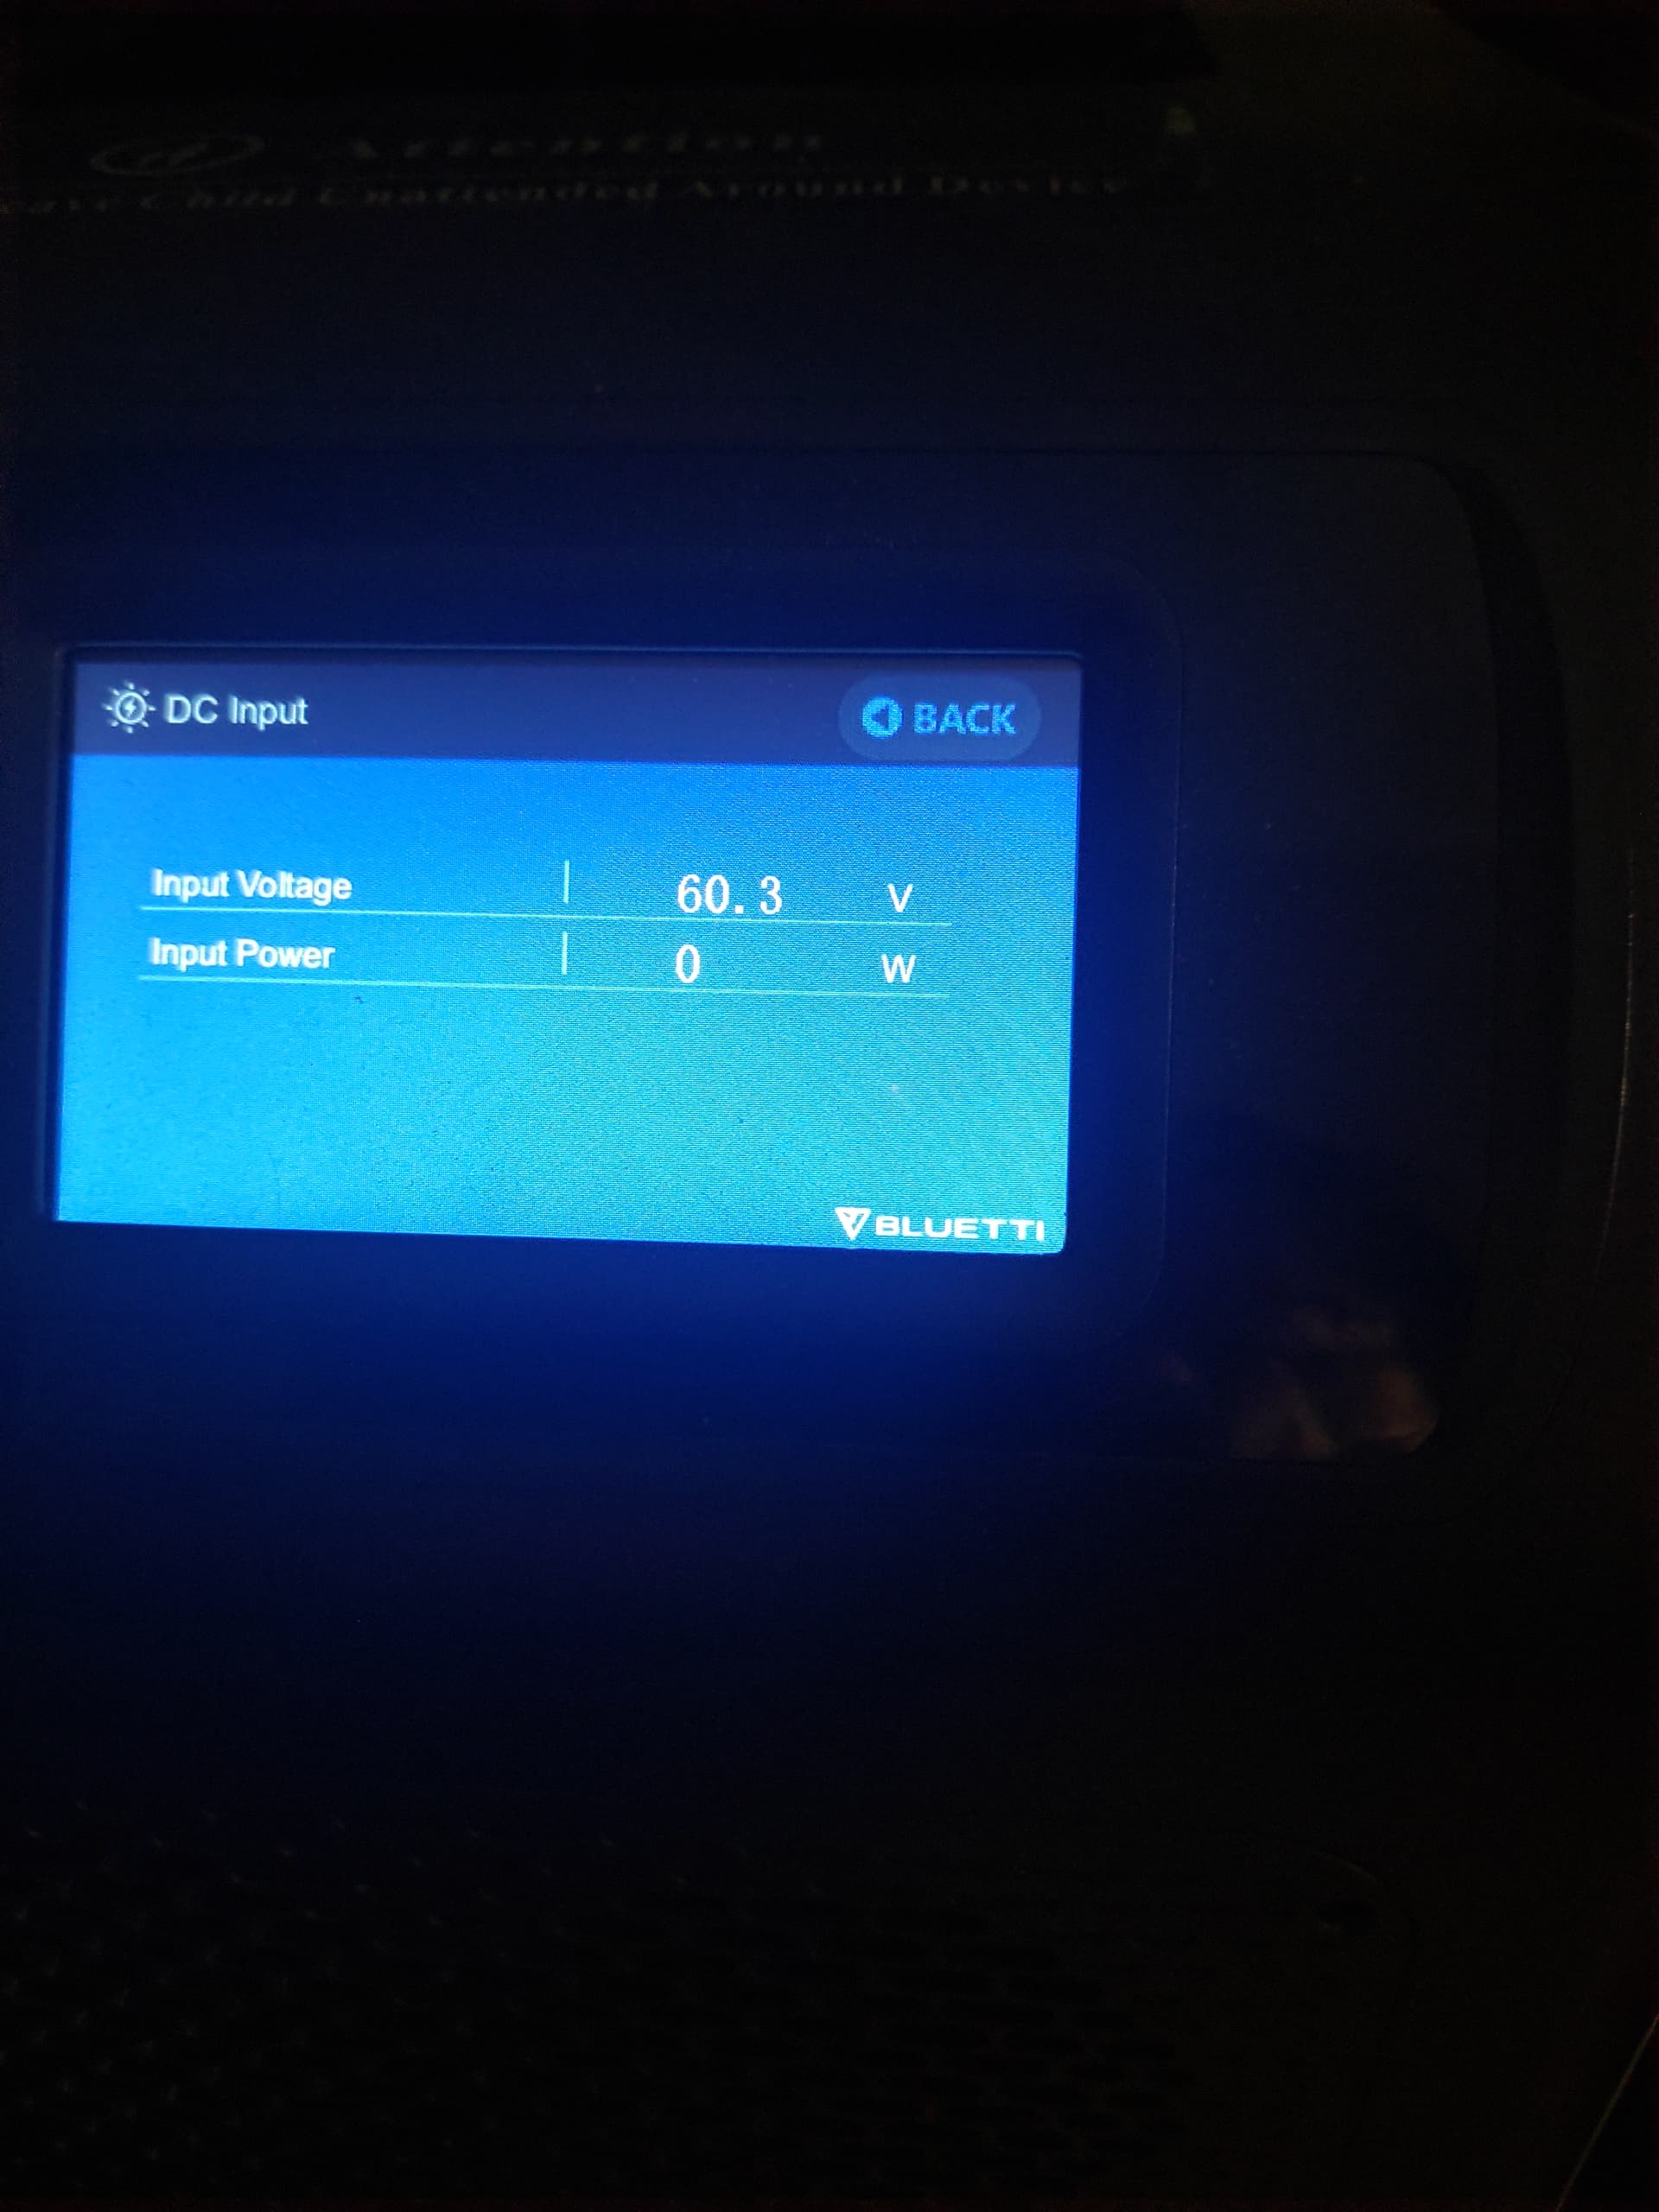
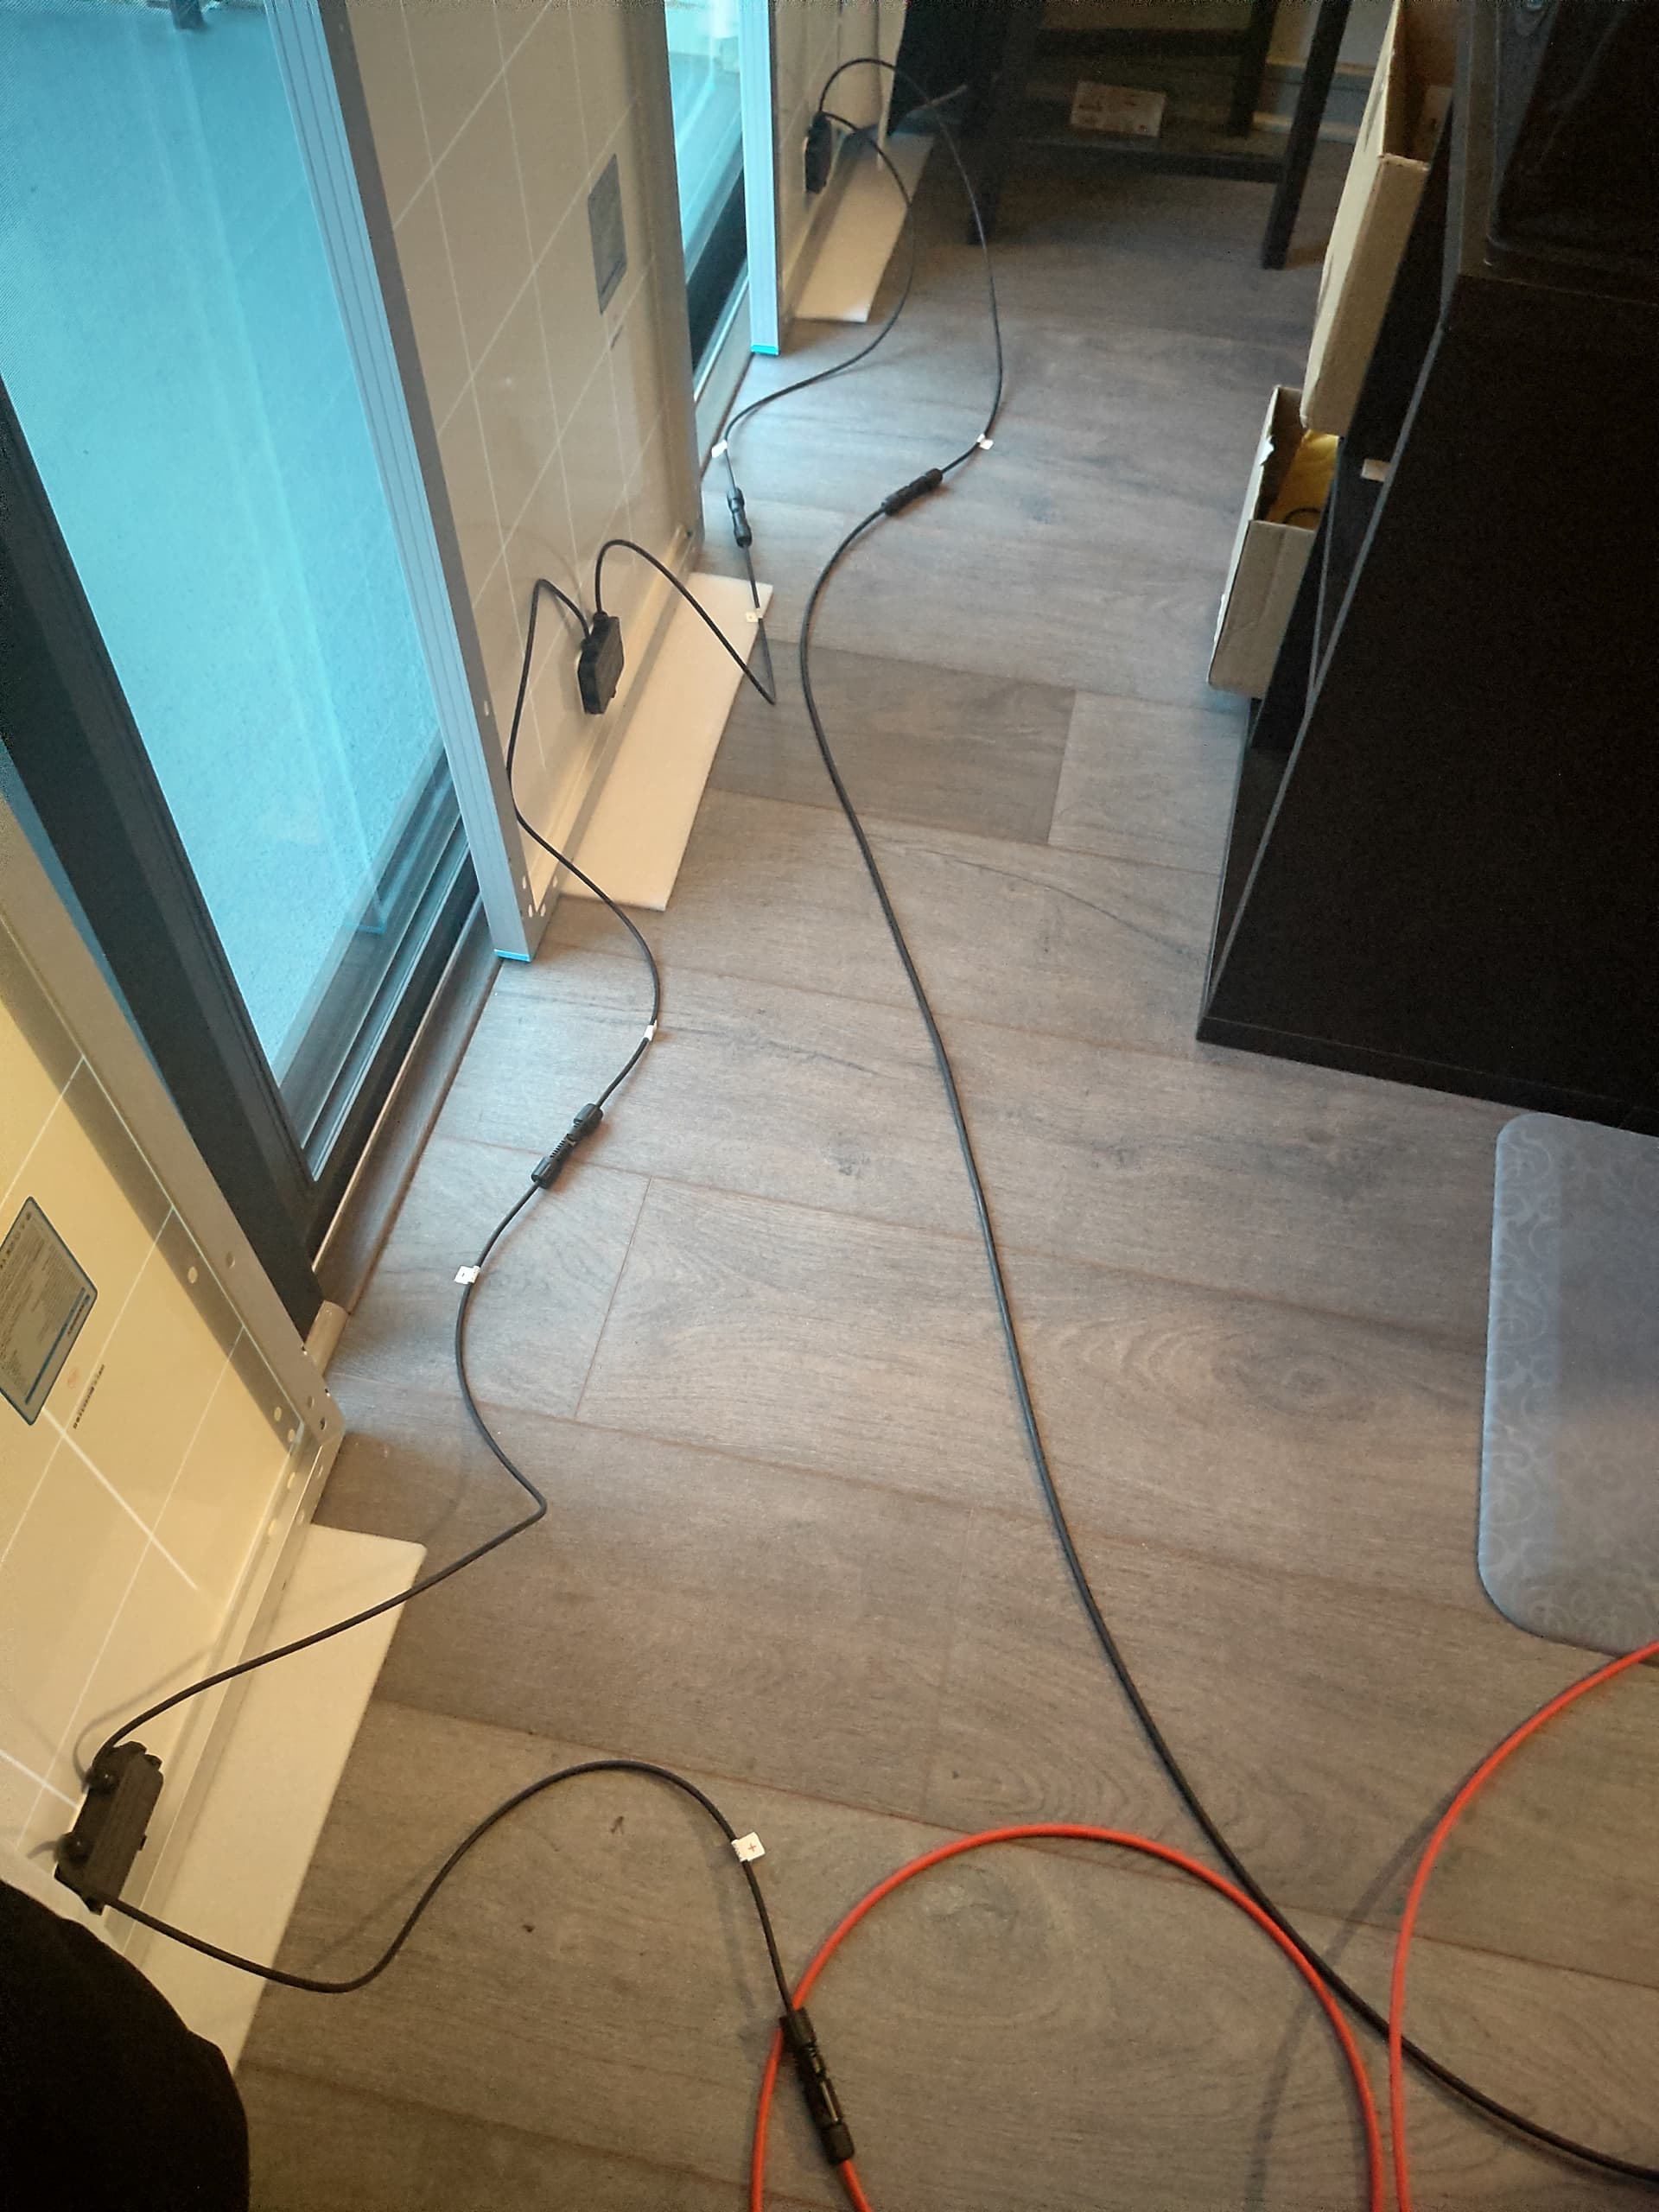
I use Renogy panels with my Bluetti AC200P, so a similar setup as yours. In your photo, I can clearly see the “+” on the panel output wire going to your “+” extension cable, which then plugs into the “+” aviation-to-mc4 cable, which is all correct. I also doubt that your EP500 would show 60v if it was receiving -60v. So I’m pretty confident that your setup is okay. Like you said, the MC4 connectors won’t let you plug it up wrong.
The MC4 connectors have a red-ring on the male end to indicate “+” and the female end is “-”. That designation is looking into the cable towards the PV panel. So your extension cable has a positive (male) side on one end and negative (female) on the other end. I can see that your aviation-to-MC4 cable has the negative end of the PV panels (female) plug into a male end (with the red-ring), which is correct, because the other end of that cable will be the negative end going into your Bluetti. And vice-versa for the positive. If that’s confusing, don’t worry, you can’t hook it up wrong.
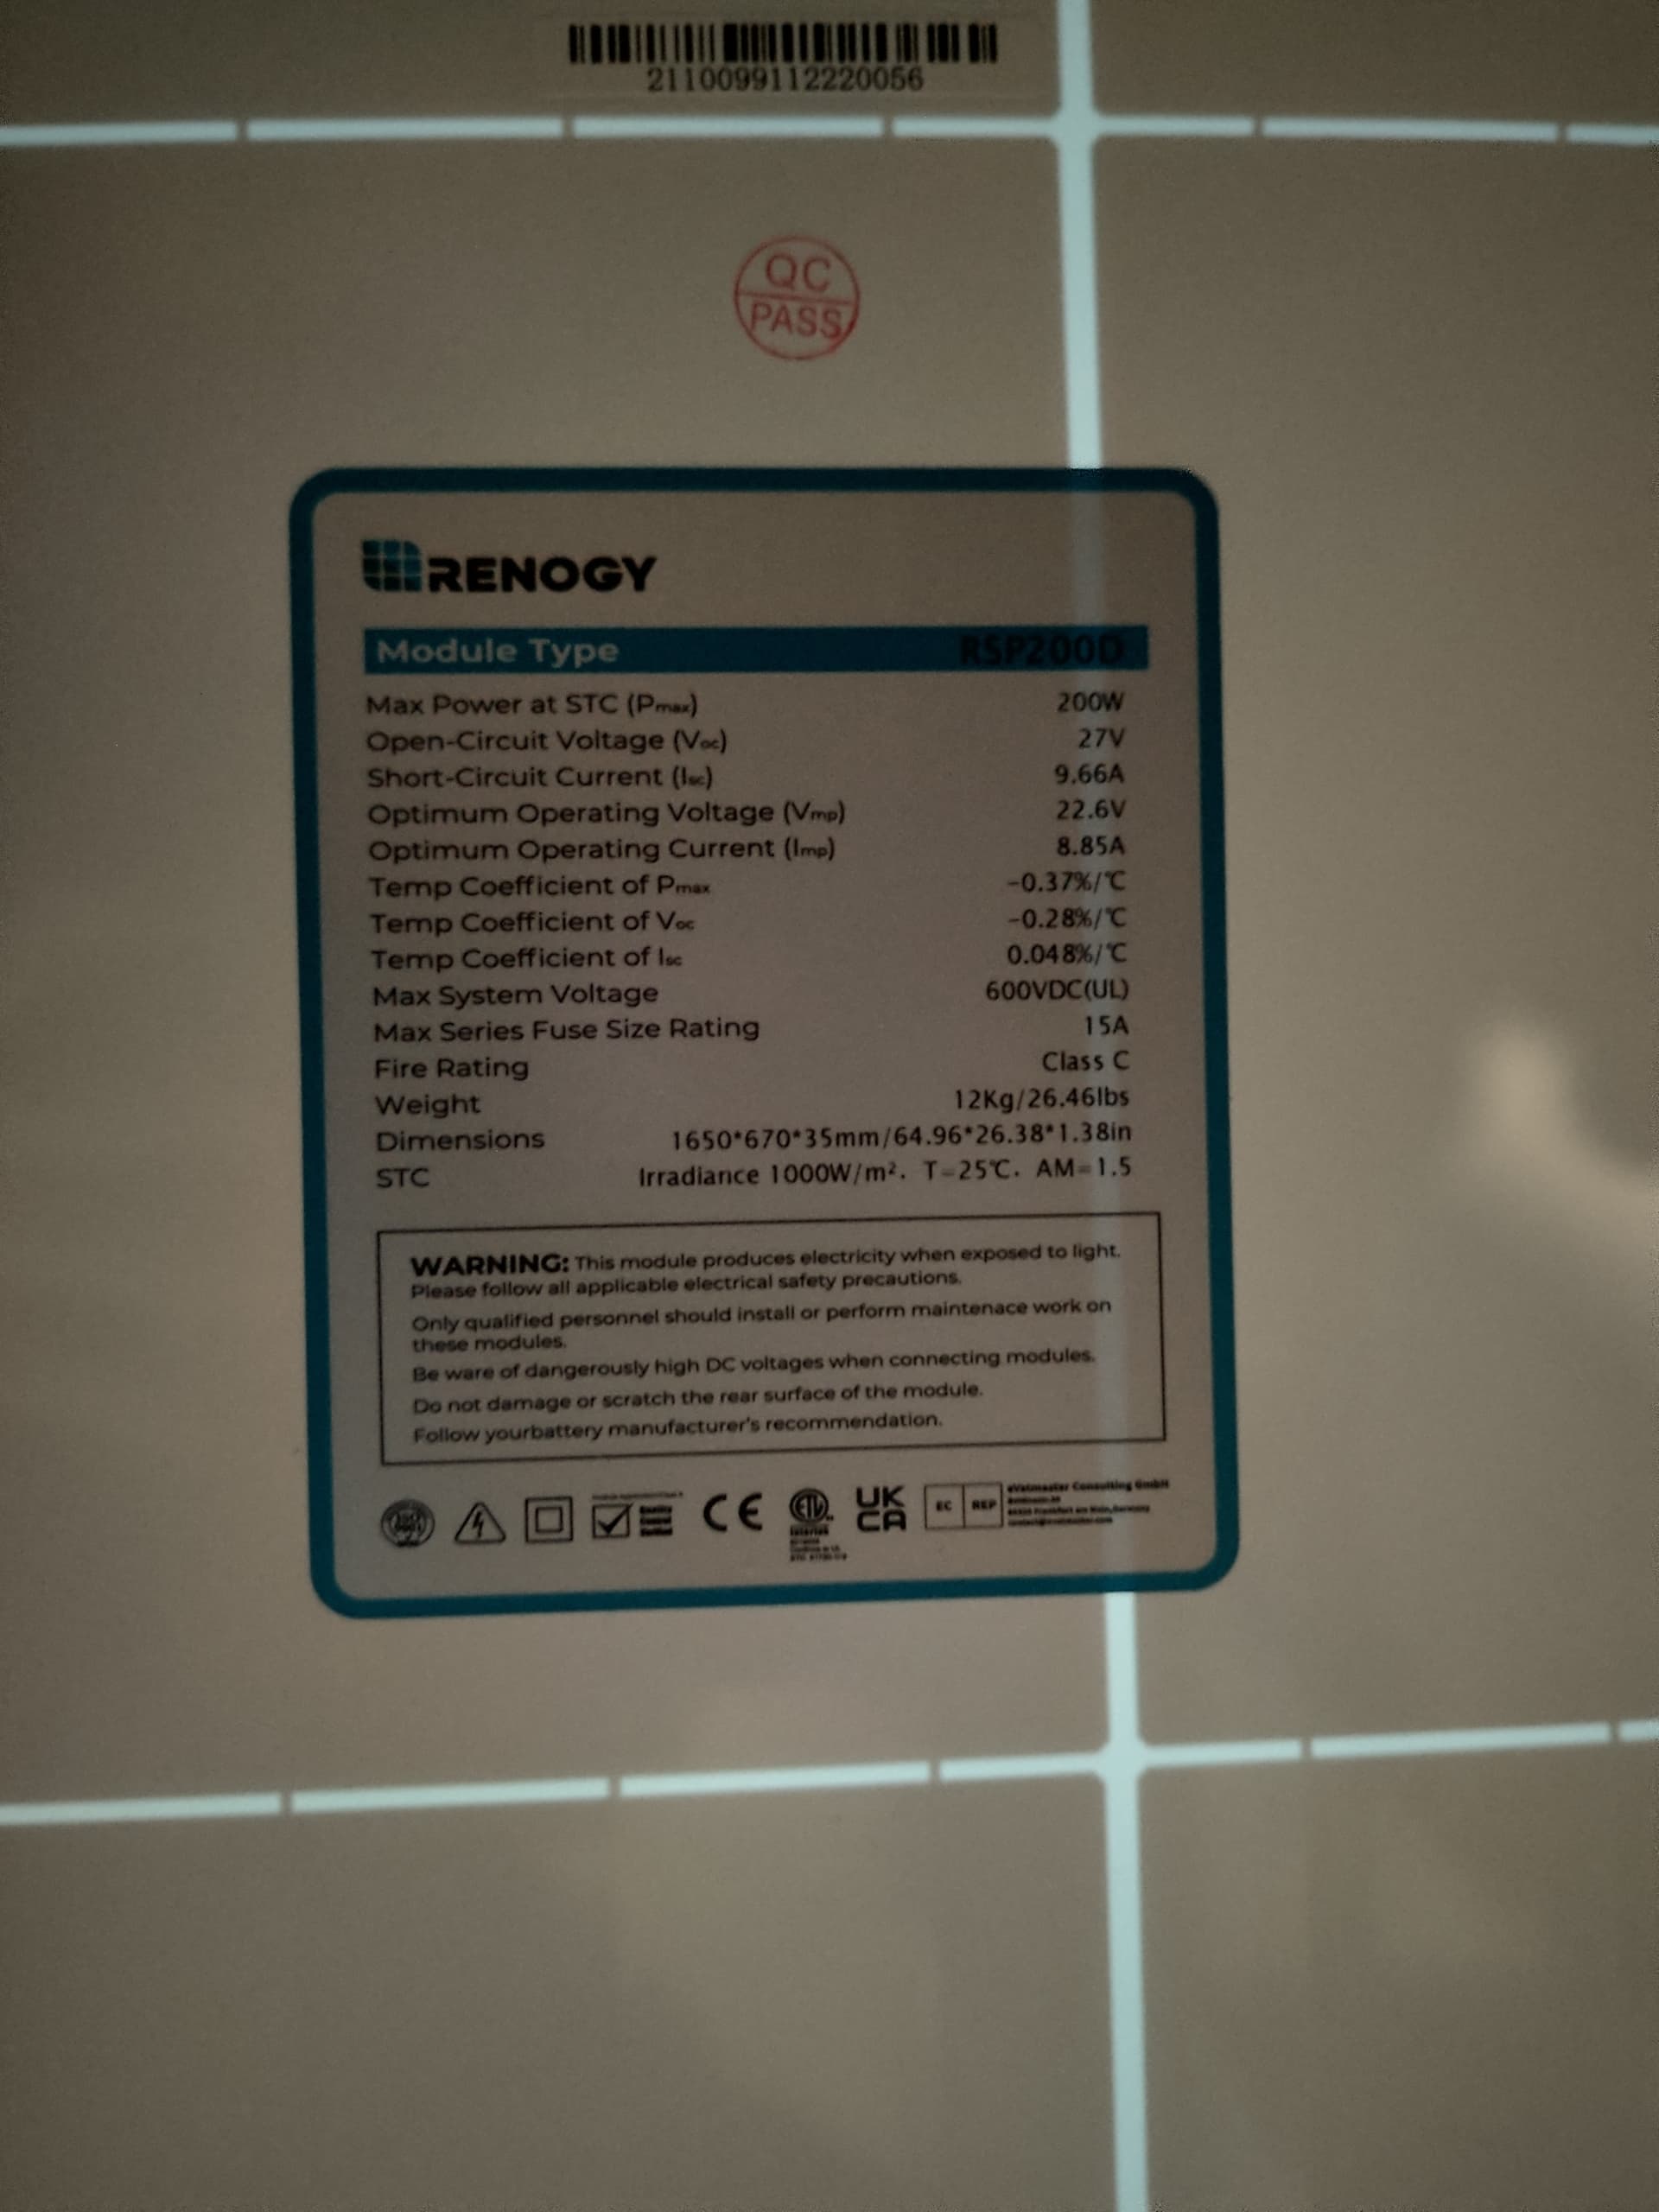
Your open voltage and short circuit measurements on the panels in series is also the correct way to check your panels. Your Renogy RSP200D panels have a built-in bypass diode, so that if one of the panels in the series is completely shaded, it will be bypassed and the power from the other panels will still be delivered. But with your 3 panel setup, you need all 3 to be in the sun to exceed the 55 volt minimum of the EP500.
I use four 100W panels in series, so around 80v. It will still show a charge on my AC200P in the most dismal conditions. Full overcast with the sun setting in the evening and the panels looking straight up can still show 30 or 40 watts of charging. Power(W) = Voltage(E) x Current(I), so 40W at 80v is 0.5A; I figure 1/2 amp of power seems to be around the minimum current needed for my AC200P. Perfectly clear skies and the panels aimed directly at the sun will maximize charging, but certainly not a requirement to get some charging.
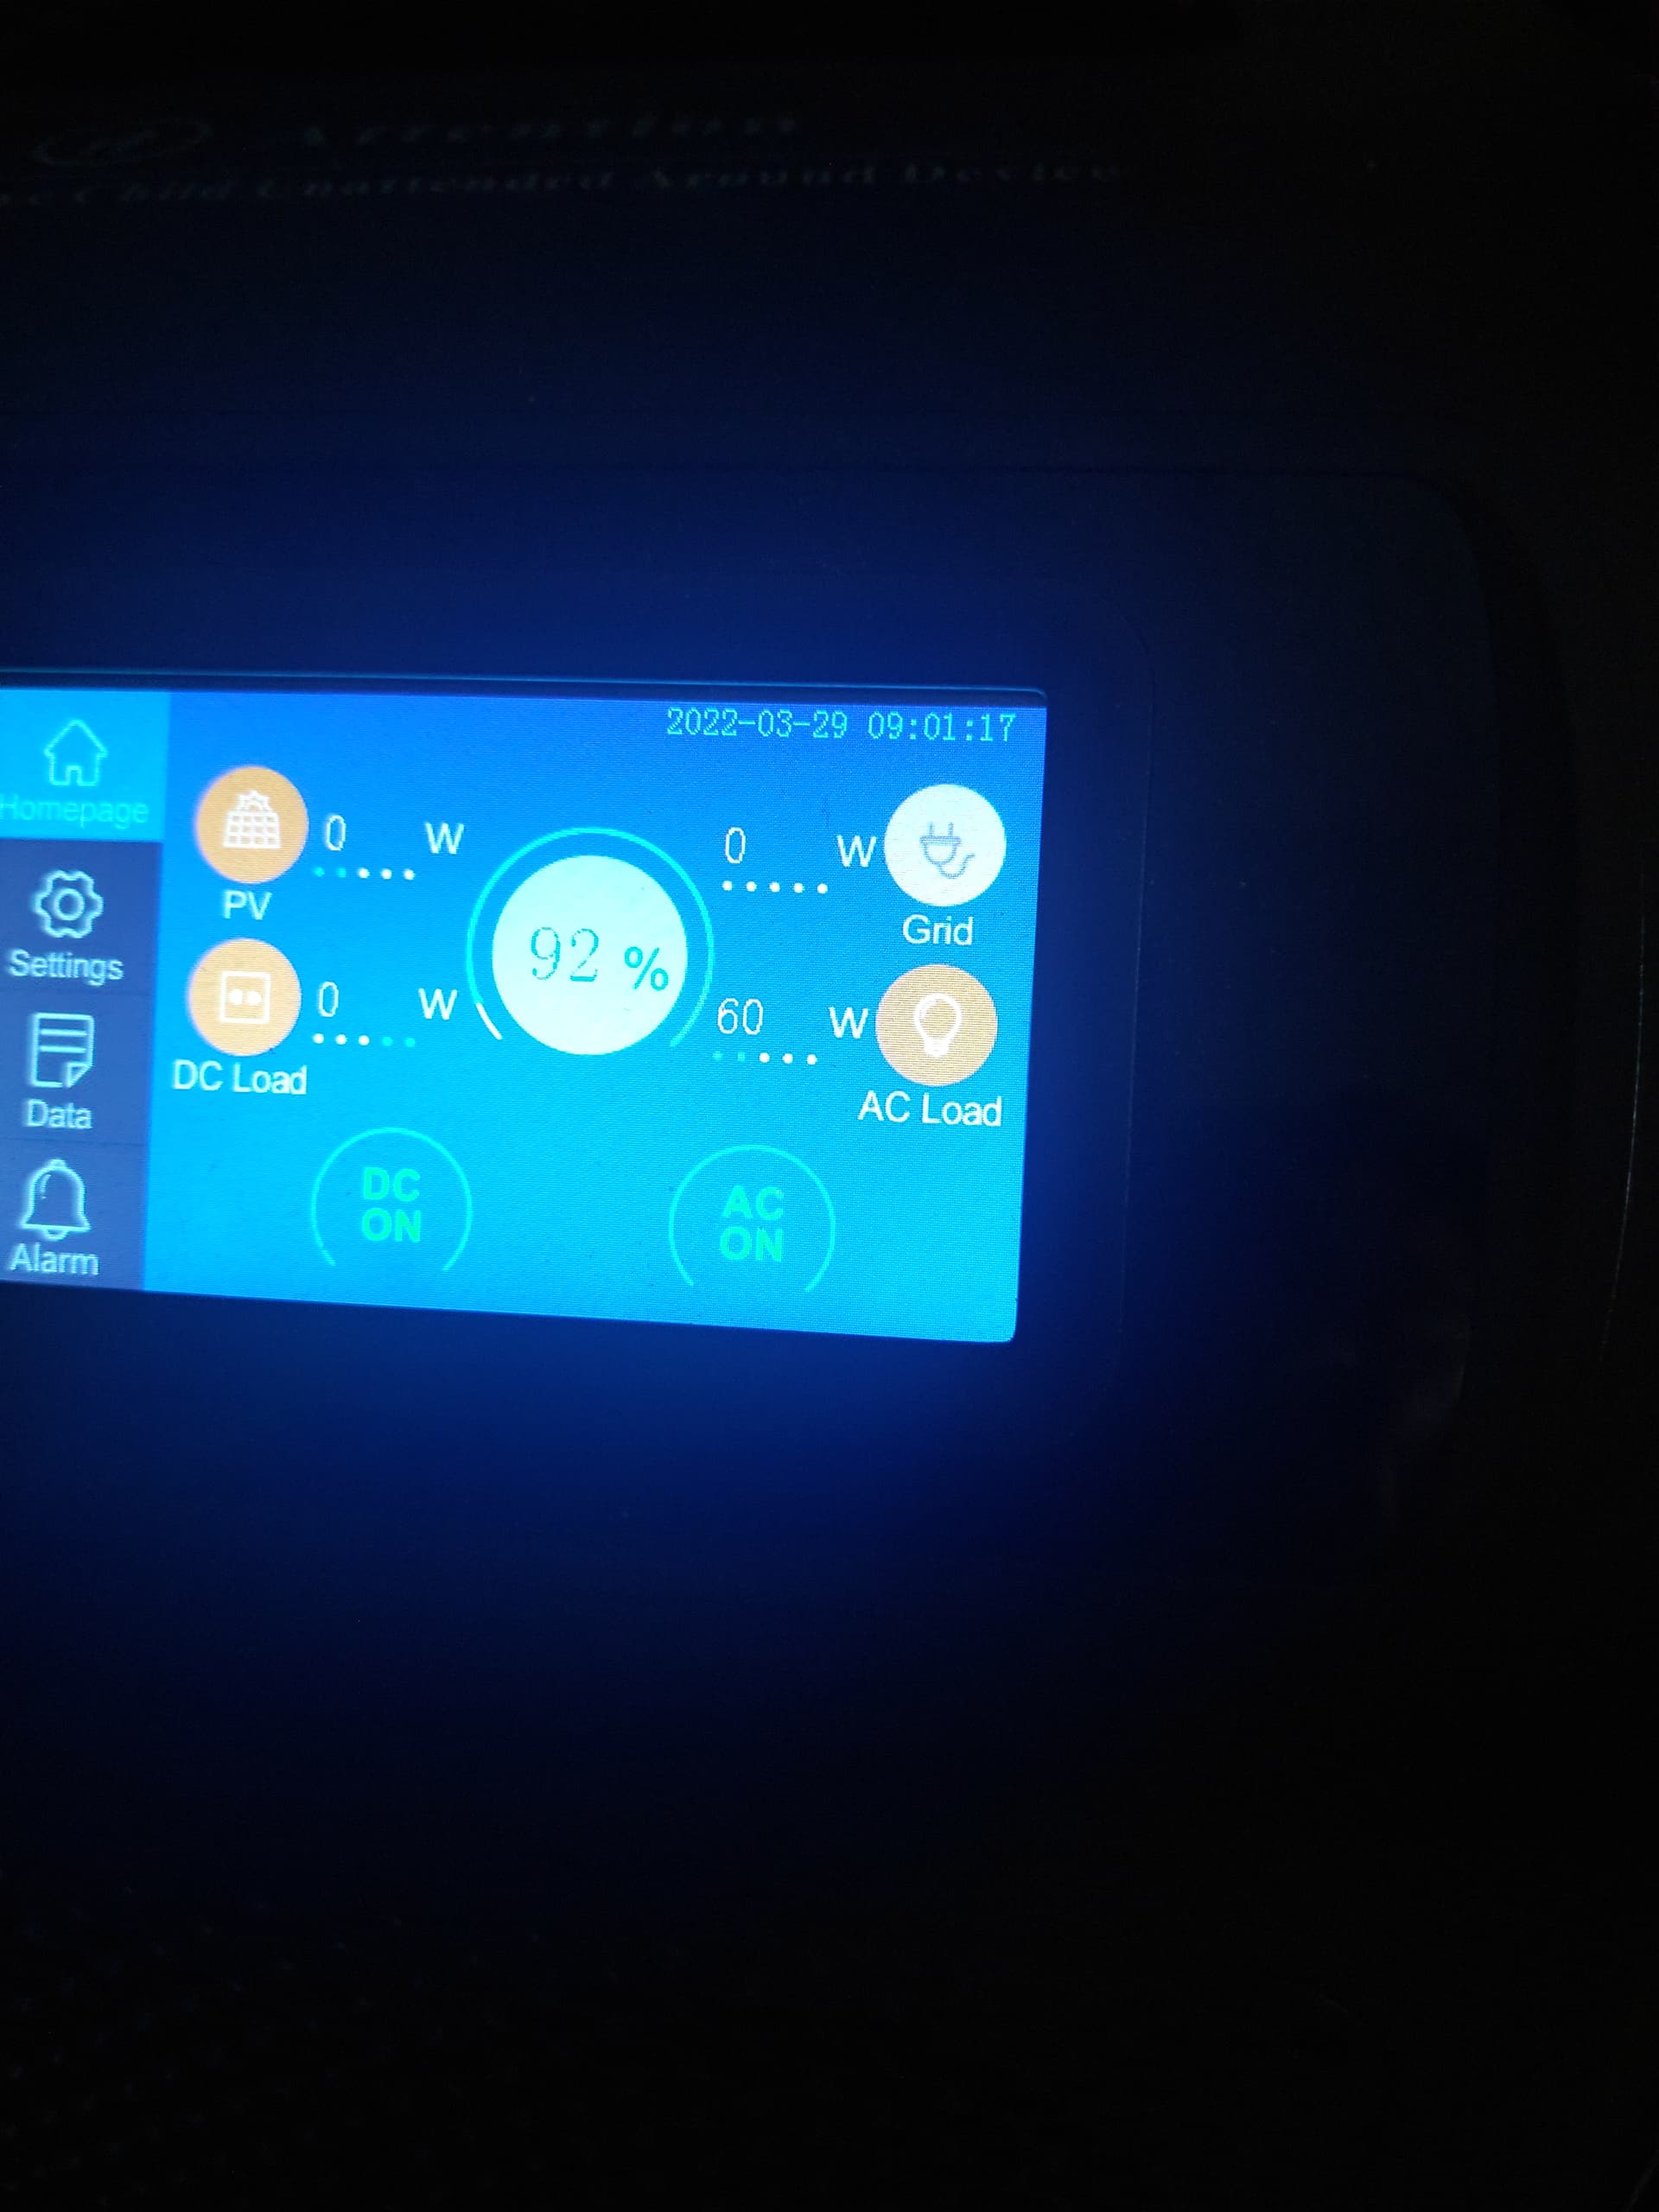
Bluetti doesn’t specify the minimum current needed to start charging, but only the maximum current it can accept. I also wonder if their current specs might be dependent on the voltage input, but who knows. Your 60V input is near the bottom of the EP500 minimum voltage input. This article will explain that PV panels maintain a near constant voltage in differing sun conditions, but it’s the current output that suffers. So I agree that your 3 panel measured @ 60v input with 3.5 amps or 8 amps of current should provide some charging even in less than perfect sunlight.
https://www.victronenergy.com/blog/2020/02/20/pv-panel-output-voltage-shadow-effect/
My AC200P will accept a PV charge at 99%. I’ve seen some comments indicate some models throttle back the charge rate as it nears 100%, but I can’t find any documentation about that. At any rate, you might let your EP500 run down under 50% to see if it will start charging on PV. From your setup, I agree with you that it should show a charge with your setup. “Plug-and-Play” means plug and play, you shouldn’t have to screw around with it to make it work.
